Installing a Heat Pump water heater can be a complex task, but understanding the process can simplify it. These efficient systems can save energy and reduce utility bills, making them a popular choice for many homeowners. Proper installation is vital to ensure the system runs smoothly and effectively.
Choosing the Right Location for Your Heat Pump Water Heater
Selecting an appropriate location for your heat pump water heater is essential for optimal performance. These units require ample space and proper airflow to function efficiently. Here are some key considerations:
- Adequate Space: Ensure there’s enough room around the unit. Heat pump water heaters need at least 1,000 cubic feet of air space to operate effectively. Avoid placing them in confined spaces like closets.
- Temperature Conditions: Install the unit in a location where the ambient temperature stays between 40°F and 90°F. Basements or garages are often good choices because they usually maintain a moderate temperature.
- Proximity to Plumbing: Place the water heater near existing plumbing lines to minimize the length of pipe runs. This reduces installation time and material costs. Make sure to leave space for future maintenance.
- Sound Consideration: Heat pump water heaters can produce noise during operation. Installing the unit away from living areas can help minimize disruption.
Common Heat Pump Water Heater Installation Mistakes to Avoid
While heat pump water heaters are known for their efficiency, improper installation can lead to performance issues and unnecessary repairs. One common heat pump water heater installation mistake is placing the unit in an area with restricted airflow or insufficient space, which can significantly reduce efficiency and lead to overheating.
Electrical capacity is another important factor. Many heat pump water heaters require a dedicated circuit, and homes with older electrical panels may need upgrades. Improper condensate drainage can also create problems over time, as these systems produce moisture that must be safely routed to a drain. Addressing these factors during installation helps prevent future heat pump water heater problems and ensures long-term reliability.
Necessary Tools and Materials for Installation
Having the right tools and materials on hand can make the installation process smooth and efficient. Here’s a list of essential items you’ll need:
Tools:
- Pipe Wrench: For tightening and loosening plumbing connections.
- Screwdriver: Needed for various fastening tasks.
- Tubing Cutter: Useful for cutting pipes to the necessary lengths.
- Level: Ensures that the unit is installed evenly.
- Tape Measure: For precise measurements.
- Adjustable Wrench: Provides flexibility for different sizes of fittings.
- Drill: Useful for mounting and securing the unit.
Materials:
- Pipes and Fittings: Ensure you have the appropriate type and size for your plumbing system.
- Pipe Sealant Tape: Essential for sealing threaded connections to prevent leaks.
- Isolation Valves: Allow you to shut off water flow to the unit without affecting the entire system.
- Drain Pan: Catches any water leakage and is crucial for installations in areas prone to leaks.
- Insulation: Helps to maintain water temperature and improve efficiency.
- Electrical Wiring: Necessary if the unit requires a direct electrical connection.
Step-by-Step Installation Guide
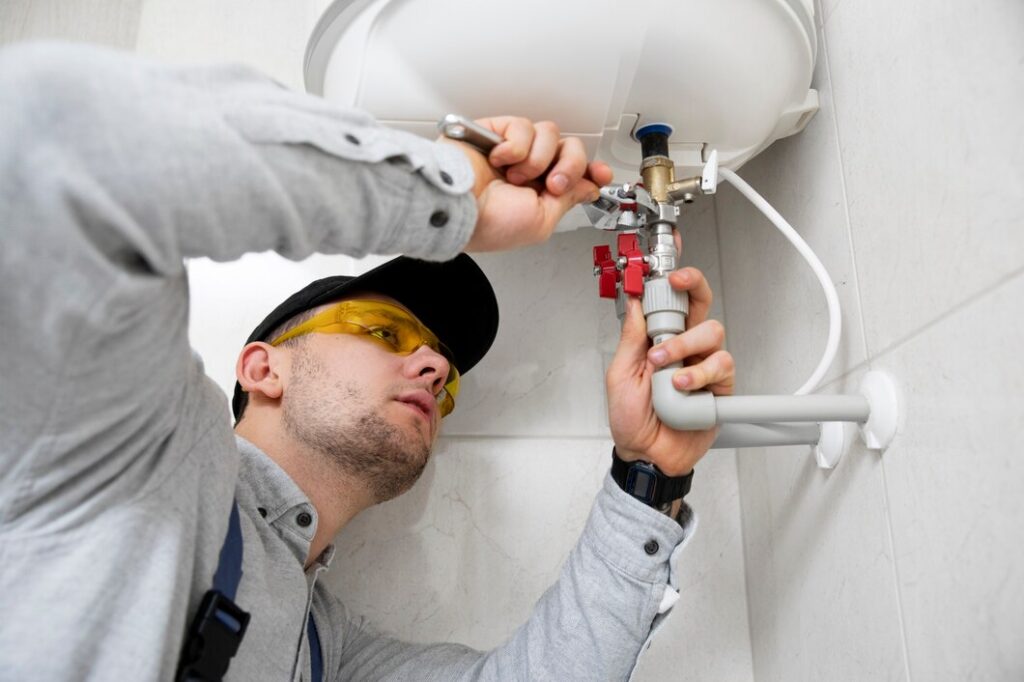
Installing a heat pump water heater requires careful attention to detail. Follow these steps to ensure a successful installation:
- Position the Unit: Place the water heater on a level surface. Make sure it has sufficient clearance around it for airflow and maintenance.
- Connect Water Lines: Attach the cold water intake and hot water outlet pipes. Use pipe sealant tape on threaded connections to prevent leaks. Ensure all connections are tight.
- Install Isolation Valves: Connect isolation valves to both the cold and hot water lines. These valves allow you to shut off water to the unit without disrupting the entire water supply.
- Drain Pan Placement: Position a drain pan under the unit to catch any leaks. Ensure the pan is connected to a drain line to direct water safely away from the area.
- Electrical Connections: If the unit requires direct electrical power, connect it according to the manufacturer’s instructions. Make sure to follow all safety guidelines and local codes.
- Insulate Pipes: Wrap the water pipes with insulation to maintain temperature and improve efficiency. This helps to reduce heat loss and maintain water temperature.
- Fill the Tank: Before powering the unit, open the cold water supply valve and let the tank fill completely. Check for leaks at all connections.
- Power On: Once the tank is full, turn on the electrical power to the unit. Follow the manufacturer’s instructions to set the desired temperature.
Post-Installation Checks and Maintenance Tips
After installing your heat pump water heater, performing post-installation checks and regular maintenance is crucial for optimal performance.
Post-Installation Checks:
- Inspect for Leaks: Check all connections for any signs of water leakage. Tighten any fittings as necessary and ensure the drain pan is properly positioned.
- Verify Electrical Connections: Ensure all electrical connections are secure. If the unit isn’t powering up, double-check the wiring and breaker settings.
- Test Water Flow: Turn on a hot water tap and let it run for a few minutes. This will help you verify that the system is working correctly.
Maintenance Tips:
- Regularly Check Filters: Clean or replace the air filters periodically to ensure efficient operation. Dirty filters can impede airflow and reduce efficiency.
- Inspect the Drain Pan: Keep an eye on the drain pan for any water accumulation. Ensuring the pan drains properly can prevent overflow issues.
- Flushing the Tank: Periodically flush the tank to remove sediment build-up. This helps to maintain efficiency and prolong the life of your water heater.
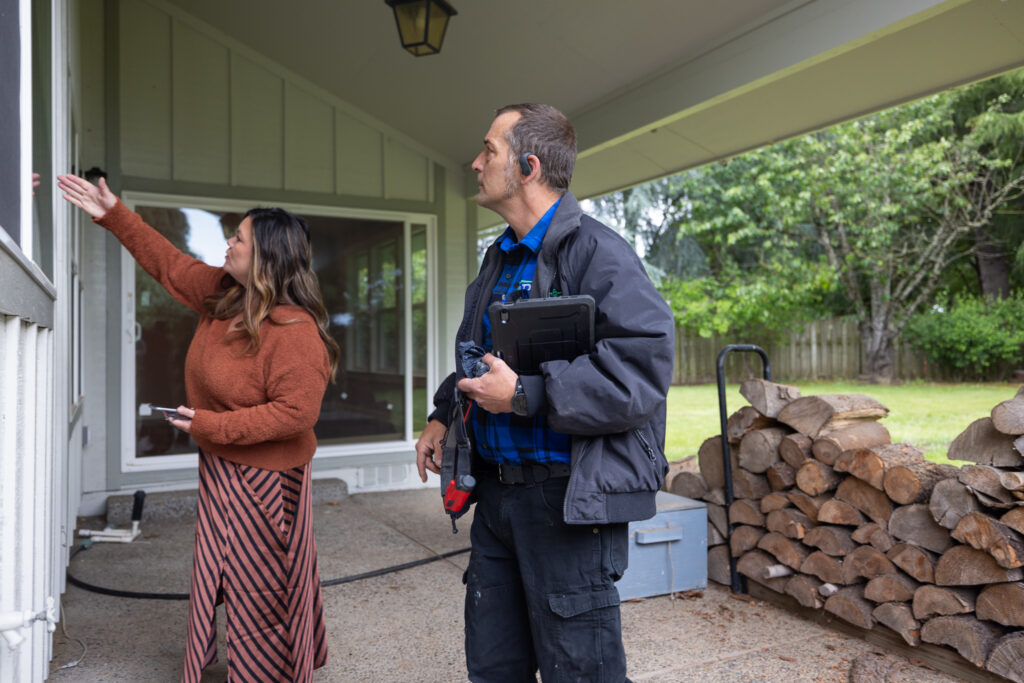
- Annual Professional Inspection: Schedule annual inspections with our professionals to ensure your system is functioning correctly. They can identify potential problems before they escalate.
Heat Pump Water Heater Maintenance for Long-Term Performance
Routine heat pump water heater maintenance helps preserve energy efficiency and reduces the risk of unexpected breakdowns. In addition to filter cleaning and tank flushing, homeowners should periodically check for unusual noises or reduced hot water output, which can indicate airflow restrictions or electrical concerns.
Scheduling professional maintenance ensures refrigerant levels, electrical components, and overall system operation are properly evaluated. Proactive care not only extends the lifespan of the unit but also minimizes common heat pump water heater problems that develop from neglect.
Common Heat Pump Water Heater Problems Homeowners Should Watch For
Even with proper installation, heat pump water heaters can experience issues over time. Reduced heating efficiency is often linked to dirty filters or insufficient airflow. Unusual noises may signal loose components or fan-related concerns, while inconsistent hot water can point to sizing or installation-related issues.
Many of these heat pump water heater problems can be prevented with correct installation and consistent maintenance. Addressing minor concerns early helps avoid costly repairs and ensures dependable hot water throughout the year.
Conclusion
Proper installation and maintenance of heat pump water heaters can significantly improve their efficiency and lifespan. By choosing an ideal location, gathering necessary tools, following a detailed installation guide, and performing regular checks, you ensure your system operates smoothly. These steps help you get the most out of your investment while minimizing potential issues. Remember, taking the time to maintain your heat pump water heater will pay off in long-term reliability and performance.
If you need expert assistance with your heat pump water heater in Portland, our professionals at D&F Plumbing, Heating and Cooling are here to help. Contact us today to schedule a professional inspection or installation service. Your comfort and satisfaction are our top priorities.
