DIY Furnace Installation: Why It’s a Bad Idea

furnaces

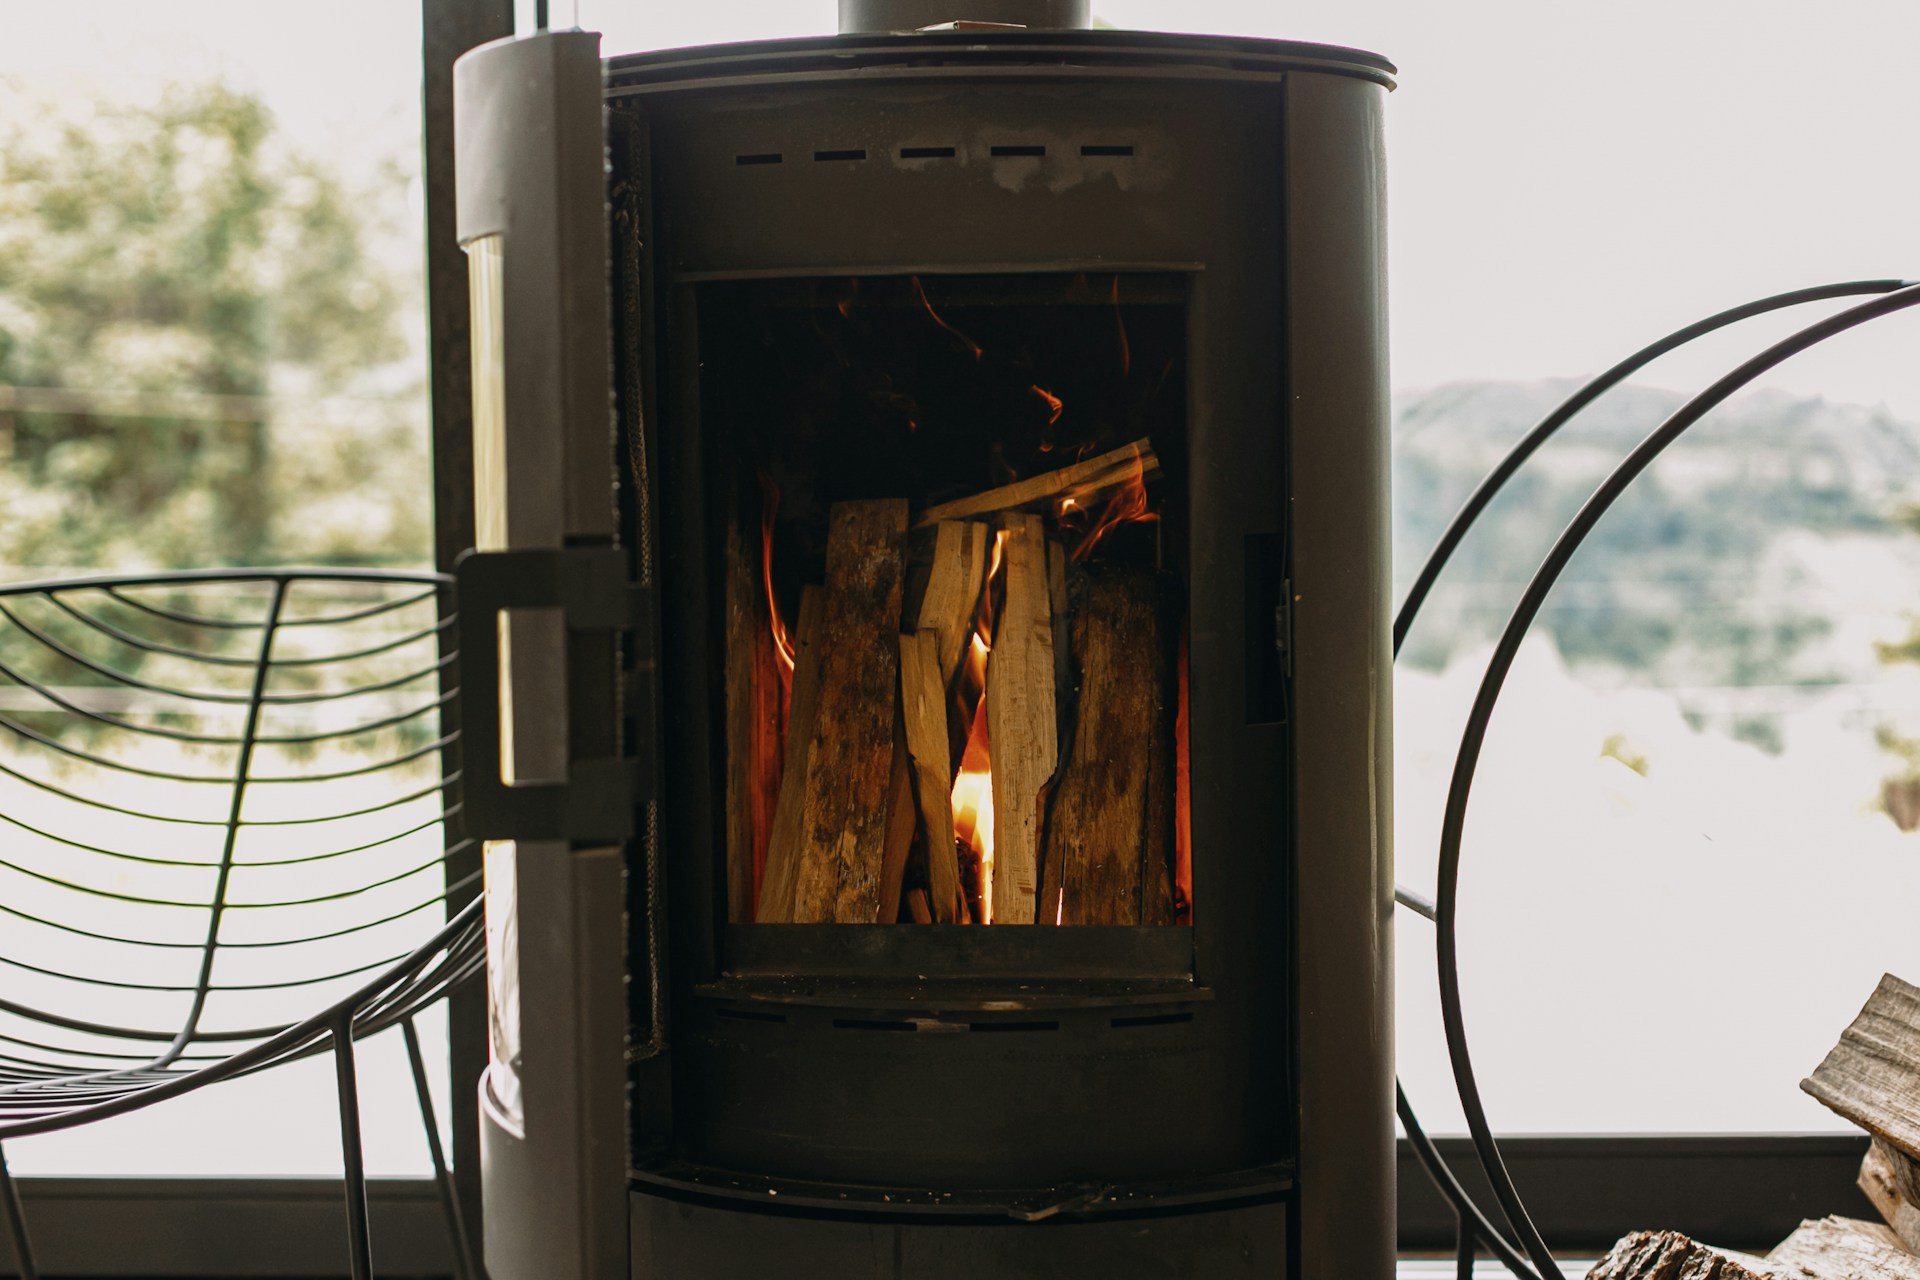
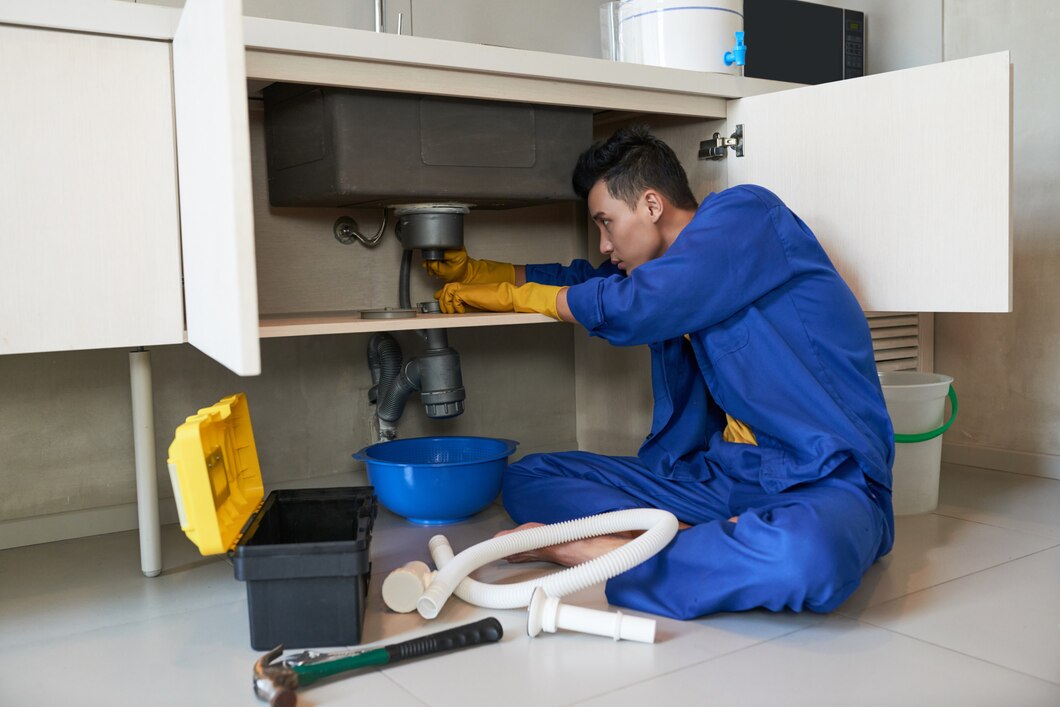
Installing a furnace is no small task. While the idea of saving money by doing it yourself might sound tempting, the risks and complications far outweigh the benefits. DIY furnace installation involves many challenges, from safety hazards to technical complexities, making it a job better left to professionals.

Safety Risks of DIY Furnace Installation

DIY furnace installation can expose you to several safety risks. Handling gas lines, electrical wiring, and heavy equipment without proper training increases the likelihood of accidents and injuries.

  • Gas Leaks: Working with gas lines is particularly hazardous. Improper connections can lead to gas leaks, which can cause explosions or carbon monoxide poisoning. Without a gas detector, you might not even realize you have a leak until it’s too late.
  • Electrical Hazards: Connecting the furnace to your home’s electrical system is another risky task. Incorrect wiring can result in electrical shocks, short circuits, or fires. These hazards are dangerous and may also lead to costly damage to your electrical system.
  • Heavy Equipment: Furnaces are heavy and cumbersome. Mishandling such large equipment can cause physical injuries. Lifting a furnace improperly can result in back injuries, or you could drop the unit, damaging it and your property.

The safety concerns surrounding DIY furnace installation are significant. To protect yourself and your home, it’s best to rely on our professionals, who have the skills and equipment to handle these dangers effectively.

Technical Challenges and Complexities

Installing a furnace requires a high level of technical knowledge and skill. It’s a complex process involving numerous steps that must be executed correctly to ensure the unit operates efficiently and safely.

  • Precise Measurements: Accurate measurements are crucial for proper furnace installation. Incorrect sizing can lead to inefficient operation, higher energy bills, and frequent breakdowns. Knowing how to measure and fit a furnace correctly requires specialized training.
  • Calibrations: The furnace must be calibrated properly to meet your home’s heating needs. This involves adjusting the fan speed, gas pressure, and thermostat settings. Incorrect calibrations can compromise the furnace’s performance and lifespan.
  • Building Codes: Compliance with local building codes and regulations is mandatory. These codes are designed to ensure safety and efficiency. Without knowledge of these regulations, you could end up with a system that doesn’t meet legal requirements, leading to penalties or required modifications.

The technical challenges of furnace installation make it a job best suited for our professionals. They have the expertise to handle all these complexities, ensuring that your furnace operates efficiently and safely from day one. Taking on this task without the necessary skills can lead to poor performance and increased costs.

Potential Long-Term Costs and Inefficiencies

Tackling furnace installation on your own may seem cost-effective at first, but it can lead to significant long-term costs and inefficiencies.

  • Higher Energy Bills: An improperly installed furnace operates less efficiently, consuming more energy to heat your home. This inefficiency can result in higher energy bills, negating any initial savings from skipping professional installation.
  • Frequent Repairs: Incorrect installation increases the likelihood of frequent breakdowns. Minor issues, if unresolved, can escalate into major problems requiring costly repairs. Over time, these furnace repair costs can add up, making DIY installation an expensive endeavor in the long run.
  • Shortened Lifespan: A poorly installed furnace may not function optimally, leading to accelerated wear and tear. This premature deterioration can shorten the furnace’s lifespan, forcing you to replace it sooner than necessary.

These potential costs highlight the importance of professional furnace installation. Our professionals ensure the job is done correctly, helping you avoid expensive repairs and high energy bills. Investing in professional installation ultimately provides long-term savings and peace of mind.

Benefits of Professional Furnace Installation

Choosing professional furnace installation offers numerous benefits that outweigh the initial cost.

  • Expertise and Experience: Our professionals have the training and experience to install your furnace correctly. They understand the intricacies involved and can handle any challenges that arise during installation.
  • Safety Assurance: Professional installation ensures all safety protocols are followed. Our technicians will securely connect gas lines and electrical wiring, reducing the risk of leaks, shocks, or fire hazards.
  • Optimal Performance: Professional installation guarantees that your furnace operates at peak efficiency. Proper calibration and setup optimize performance, leading to consistent heating and lower energy consumption.
  • Warranty Protection: Many furnace manufacturers require professional installation to honor their warranties. DIY installation can void your warranty, leaving you responsible for any future repairs or replacements.

The advantages of professional furnace installation far outweigh the risks and costs of a DIY approach. Ensuring a safe, efficient, and long-lasting furnace is best achieved through the expertise of our trained professionals.

Conclusion

Furnace installation is a complex task that carries significant risks and potential costs when done incorrectly. From safety hazards and technical challenges to long-term inefficiencies and increased expenses, DIY furnace installation is fraught with pitfalls. Opting for professional installation is a wise investment. This choice ensures your furnace operates efficiently and safely, providing reliable heating for years to come.

Don’t take chances with your home’s heating system. Contact D&F Plumbing, Heating, and Cooling today for expert furnace installation in Salmon Creek, WA. Ensure your furnace is set up for success from the start!
Effective Drain Cleaning Solutions for Persistent Clogs

drains

Persistent clogs are more than just a nuisance; they can lead to significant plumbing issues if not addressed promptly. Understanding the root causes of these clogs and knowing how to tackle them can save you time, money, and frustration. Effective drain cleaning solutions are vital for maintaining a smoothly running plumbing system.

Identifying the Causes of Persistent Clogs

Persistent clogs usually result from a mix of common household substances that accumulate in your pipes over time. Understanding these causes can help you address and prevent future issues.

  • Hair: One of the most common clogging agents is hair. It tends to gather in drains, especially in the bathroom, creating dense knots that block water flow. Regular cleaning of hair from drains can help to avoid buildup.
  • Grease and Fat: Cooking grease and fat can solidify in pipes, causing blockages. These substances are often washed down the kitchen sink, where they cool and cling to the pipe walls. Over time, this buildup can completely block the drain.
  • Soap Scum: The residue from soap often combines with minerals in the water, forming a hard substance that sticks to the sides of your pipes. This soap scum can narrow the pipe’s diameter, slowing drainage.
  • Foreign Objects: Items like food scraps, cotton swabs, and paper towels can also cause clogs. These objects don’t dissolve and can easily become lodged in the pipes, obstructing water flow.

DIY Drain Cleaning Methods

For minor clogs, several DIY methods can help clear your drains without the need for professional assistance. These methods are easy, cost-effective, and can be done using common household items.

  • Plungers: A plunger is one of the simplest and most effective tools for unclogging drains. For sinks, use a cup plunger, and for toilets, use a flange plunger. Create a seal over the drain and apply firm pressure to dislodge the blockage.
  • Boiling Water: Pouring boiling water down the drain can help dissolve grease and soap scum. Be careful when handling boiling water to avoid burns. This method is especially useful for kitchen sinks.
  • Baking Soda and Vinegar: This natural cleaning solution can break down minor blockages. Pour a cup of baking soda down the drain, followed by a cup of vinegar. Let it sit for about 15 minutes, then flush with hot water. The chemical reaction can help clear debris.
  • Manual Removal: If the clog is near the surface, you might be able to remove it manually. Use a drain snake or a bent wire hanger to fish out hair and other small debris. Ensure you wear gloves to keep things sanitary.

Professional Drain Cleaning Solutions

When DIY methods can’t resolve the issue, professional drain cleaning solutions are often necessary. Our professionals have the expertise and tools to handle even the most stubborn clogs.

  • Hydro Jetting: This technique uses high-pressure water to clear out drain pipes. It can remove build-ups of grease, tree roots, and other debris. Hydro jetting is effective for both minor and severe clogs and cleans the pipes thoroughly.
  • Electric Drain Snakes: Also known as augers, these motorized devices can reach deep into your pipes to break down and remove blockages. They’re ideal for tough clogs that are out of reach of standard plungers or manual snakes. Professional-grade equipment is more effective than the handheld versions available for home use.
  • Camera Inspections: Our technicians can use specialized cameras to inspect the inside of your pipes. This allows them to identify the exact location and cause of the clog, ensuring a more accurate and efficient solution. Knowing what’s inside the pipes helps you choose the right method for cleaning.

Preventative Measures to Avoid Future Clogs

Preventing clogs is easier than dealing with them once they occur. Implementing a few simple practices can maintain the flow of your drains and reduce the need for frequent cleaning.

  • Use Drain Screens: Installing screens over your drains can catch hair, food particles, and other debris before they enter the pipes. These screens are inexpensive and easy to clean.
  • Proper Disposal of Grease: Avoid pouring cooking grease and oil down the sink. Instead, let them cool and dispose of them in the trash. Grease can solidify in the pipes and create clogs that are difficult to remove.
  • Regular Maintenance: Schedule regular inspections and cleanings with our professionals. Proactive maintenance can identify potential issues before they become major problems, saving you time and money in the long run.
  • Mindful Usage: Be cautious about what you flush or wash down the drains. Avoid flushing non-degradable items like wipes and sanitary products. In the kitchen, use garbage disposal properly, and don’t overload it with fibrous or starchy foods.

Conclusion

Persistent clogs can cause significant disruptions, but understanding effective drain cleaning solutions can help you tackle and prevent them. From identifying common causes to employing DIY methods and seeking professional assistance, there are multiple ways to ensure your drains remain clear and functional.

For professional drain cleaning in Tigard, OR, and expert advice, trust D&F Plumbing, Heating and Cooling. Our experienced team is ready to help keep your drains running smoothly. Contact us today to schedule a service and protect your home’s plumbing system!

The Hidden Costs of Delaying Furnace Replacement

furnace

Furnace replacement can seem like a daunting and expensive task. However, delaying this important process can lead to several hidden costs that might not be immediately apparent. An old or malfunctioning furnace doesn’t just affect your comfort; it can also have a financial and health impact on your household.

Understanding the hidden costs of delaying furnace replacement can help you make a more informed decision. 

Increased Energy Bills

An old furnace often works harder than necessary to heat your home. This inefficiency leads to increased energy consumption, which directly impacts your energy bills. When a furnace ages, its components wear out, reducing its ability to function effectively. As a result, the system has to run for longer periods to maintain the desired temperature, consuming more energy and costing you more money.

  • Reduced Efficiency: Over time, furnace components such as the blower motor, heat exchanger, and burners degrade. This degradation lowers the overall efficiency of the unit, making it consume more energy for the same output. An inefficient furnace translates into higher utility bills.
  • Strain on System: An older furnace has to work harder to heat your home. This added strain leads to longer run times and increased wear and tear on the system. The more your furnace runs, the more energy it uses, which significantly inflates your monthly energy bills.

Replacing your furnace in a timely manner can help you avoid these increased energy costs. A new, energy-efficient furnace will use less energy to heat your home, helping you save on your utility bills.

Frequent and Expensive Repairs

Old furnaces are notorious for needing frequent repairs, which can quickly add up in cost. Even minor issues can become major problems if not addressed promptly. Delaying furnace replacement means you might face constant breakdowns and the stress of frequent maintenance calls.

  • Wear and Tear: As furnaces age, their parts begin to wear out. This wear and tear leads to frequent malfunctions and the need for repairs. Components like the blower motor, ignitor, and sensors might need constant attention, causing inconvenience and additional expenses.
  • Escalating Costs: Small issues, if ignored, can lead to more significant problems. For example, a minor leak or malfunctioning part can damage other components, resulting in expensive furnace repairs. The costs can quickly escalate, making it more economical to opt for a furnace replacement instead.
  • Unavailability of Parts: As furnaces become older, finding replacement parts can become challenging. The parts might be obsolete or hard to source, increasing repair costs and downtime. The inconvenience and added expense of hunting down rare parts only make repair costs skyrocket.

Frequent and expensive repairs make furnace replacement a more practical and cost-effective solution. Investing in a new furnace can save you the constant inconvenience and costs associated with an old, failing unit.

Reduced Comfort and Reliability

An old furnace often struggles to maintain a consistent temperature in your home. As it ages, its ability to distribute heat evenly diminishes, leading to cold spots and fluctuating temperatures. These variations make your living space uncomfortable, especially during extreme weather conditions.

  • Inconsistent Heating: An aging furnace may cycle on and off more frequently, resulting in uneven heating. Some rooms might stay warm while others remain cool, creating an inconsistent and uncomfortable environment throughout your home.
  • Frequent Breakdowns: Reliability becomes an issue as the furnace gets older. Frequent malfunctions and unexpected shutdowns can leave you without heat when you need it most. These breakdowns not only cause discomfort but also create stress, as you scramble for emergency repairs.

Replacing an old furnace ensures a more reliable and comfortable heating system. A new furnace can maintain a consistent temperature, providing even heat and reliable operation during the cold months.

Health and Safety Concerns

Delaying furnace replacement can also lead to serious health and safety concerns. Older units pose risks that newer models are designed to prevent, making timely replacement a matter of safety.

  • Carbon Monoxide Leaks: One of the most dangerous risks of an old furnace is the potential for carbon monoxide leaks. As components like the heat exchanger degrade, cracks may form, allowing this deadly gas to escape into your home. Carbon monoxide is colorless and odorless, making it especially hazardous.
  • Fire Risks: Faulty wiring and overheating parts can increase the risk of fire. An old furnace with worn-out components is more susceptible to these hazards, putting your household at risk.
  • Poor Air Quality: An old furnace may not filter air as effectively, leading to poor indoor air quality. Dust, allergens, and other pollutants can circulate through your home, exacerbating respiratory issues and allergies.

Replacing your furnace can help you avoid these health and safety risks. A new furnace comes equipped with modern safety features and improves your home’s air quality, ensuring a safer living environment.

Conclusion

The hidden costs of delaying furnace replacement extend far beyond the initial expense. From increased energy bills and frequent repairs to reduced comfort and serious safety risks, the drawbacks of keeping an old furnace are substantial. Addressing furnace replacement promptly can prevent many issues, providing a more reliable heating system for your home.

Take proactive steps to avoid the hidden costs of an old furnace. Contact D&F Plumbing, Heating and Cooling today for expert advice and professional furnace replacement in Portland, OR. Ensure your home stays warm, safe, and efficient!

Installation Tips for Heat Pump Water Heaters

heat pump water heater

Installing a heat pump water heater can be a complex task, but understanding the process can simplify it. These efficient systems can save energy and reduce utility bills, making them a popular choice for many homeowners. Proper installation is vital to ensure the system runs smoothly and effectively.

Choosing the Right Location for Your Heat Pump Water Heater

Selecting an appropriate location for your heat pump water heater is essential for optimal performance. These units require ample space and proper airflow to function efficiently. Here are some key considerations:

  • Adequate Space: Ensure there’s enough room around the unit. Heat pump water heaters need at least 1,000 cubic feet of air space to operate effectively. Avoid placing them in confined spaces like closets.
  • Temperature Conditions: Install the unit in a location where the ambient temperature stays between 40°F and 90°F. Basements or garages are often good choices because they usually maintain a moderate temperature.
  • Proximity to Plumbing: Place the water heater near existing plumbing lines to minimize the length of pipe runs. This reduces installation time and material costs. Make sure to leave space for future maintenance.
  • Sound Consideration: Heat pump water heaters can produce noise during operation. Installing the unit away from living areas can help minimize disruption.

Necessary Tools and Materials for Installation

Having the right tools and materials on hand can make the installation process smooth and efficient. Here’s a list of essential items you’ll need:

Tools:

  • Pipe Wrench: For tightening and loosening plumbing connections.
  • Screwdriver: Needed for various fastening tasks.
  • Tubing Cutter: Useful for cutting pipes to the necessary lengths.
  • Level: Ensures that the unit is installed evenly.
  • Tape Measure: For precise measurements.
  • Adjustable Wrench: Provides flexibility for different sizes of fittings.
  • Drill: Useful for mounting and securing the unit.

Materials:

  • Pipes and Fittings: Ensure you have the appropriate type and size for your plumbing system.
  • Pipe Sealant Tape: Essential for sealing threaded connections to prevent leaks.
  • Isolation Valves: Allow you to shut off water flow to the unit without affecting the entire system.
  • Drain Pan: Catches any water leakage and is crucial for installations in areas prone to leaks.
  • Insulation: Helps to maintain water temperature and improve efficiency.
  • Electrical Wiring: Necessary if the unit requires a direct electrical connection.

Step-by-Step Installation Guide

Installing a heat pump water heater requires careful attention to detail. Follow these steps to ensure a successful installation:

  1. Position the Unit: Place the water heater on a level surface. Make sure it has sufficient clearance around it for airflow and maintenance.
  2. Connect Water Lines: Attach the cold water intake and hot water outlet pipes. Use pipe sealant tape on threaded connections to prevent leaks. Ensure all connections are tight.
  3. Install Isolation Valves: Connect isolation valves to both the cold and hot water lines. These valves allow you to shut off water to the unit without disrupting the entire water supply.
  4. Drain Pan Placement: Position a drain pan under the unit to catch any leaks. Ensure the pan is connected to a drain line to direct water safely away from the area.
  5. Electrical Connections: If the unit requires direct electrical power, connect it according to the manufacturer’s instructions. Make sure to follow all safety guidelines and local codes.
  6. Insulate Pipes: Wrap the water pipes with insulation to maintain temperature and improve efficiency. This helps to reduce heat loss and maintain water temperature.
  7. Fill the Tank: Before powering the unit, open the cold water supply valve and let the tank fill completely. Check for leaks at all connections.
  8. Power On: Once the tank is full, turn on the electrical power to the unit. Follow the manufacturer’s instructions to set the desired temperature.

Post-Installation Checks and Maintenance Tips

After installing your heat pump water heater, performing post-installation checks and regular maintenance is crucial for optimal performance.

Post-Installation Checks:

  • Inspect for Leaks: Check all connections for any signs of water leakage. Tighten any fittings as necessary and ensure the drain pan is properly positioned.
  • Verify Electrical Connections: Ensure all electrical connections are secure. If the unit isn’t powering up, double-check the wiring and breaker settings.
  • Test Water Flow: Turn on a hot water tap and let it run for a few minutes. This will help you verify that the system is working correctly.

Maintenance Tips:

  • Regularly Check Filters: Clean or replace the air filters periodically to ensure efficient operation. Dirty filters can impede airflow and reduce efficiency.
  • Inspect the Drain Pan: Keep an eye on the drain pan for any water accumulation. Ensuring the pan drains properly can prevent overflow issues.
  • Flushing the Tank: Periodically flush the tank to remove sediment build-up. This helps to maintain efficiency and prolong the life of your water heater.
  • Annual Professional Inspection: Schedule annual inspections with our professionals to ensure your system is functioning correctly. They can identify potential problems before they escalate.

Conclusion

Proper installation and maintenance of heat pump water heaters can significantly improve their efficiency and lifespan. By choosing an ideal location, gathering necessary tools, following a detailed installation guide, and performing regular checks, you ensure your system operates smoothly. These steps help you get the most out of your investment while minimizing potential issues. Remember, taking the time to maintain your heat pump water heater will pay off in long-term reliability and performance. 

If you need expert assistance with your heat pump water heater in Forest Grove, our professionals at D&F Plumbing, Heating and Cooling are here to help. Contact us today to schedule a professional inspection or installation service. Your comfort and satisfaction are our top priorities.