Furnace Repair Issues You Should Not Ignore

furnace

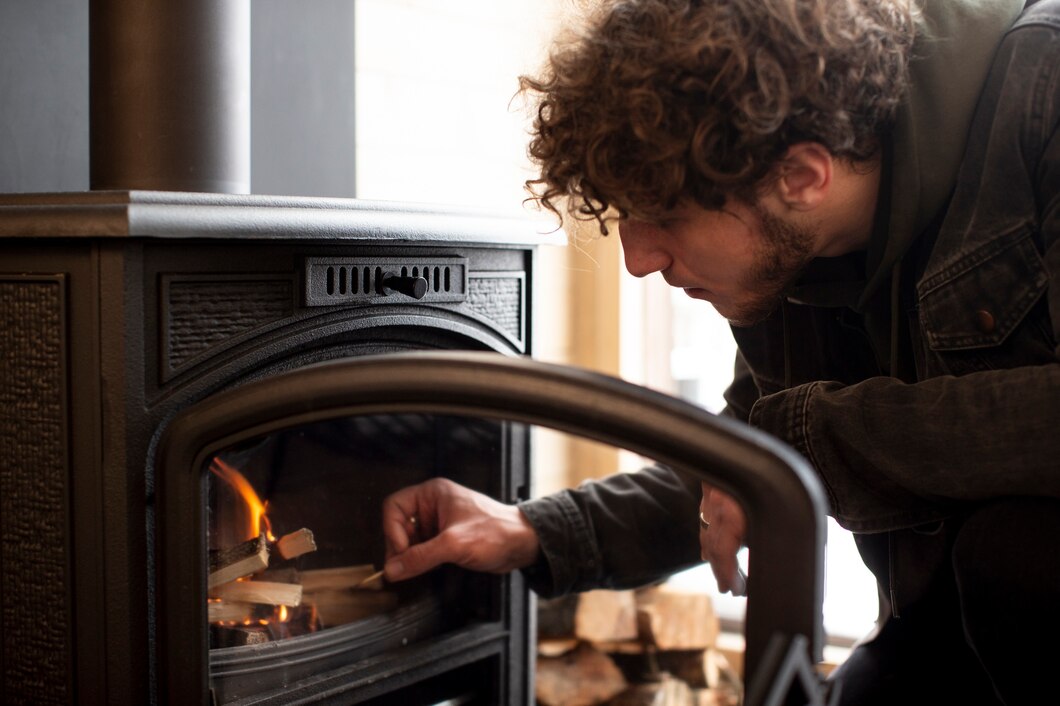
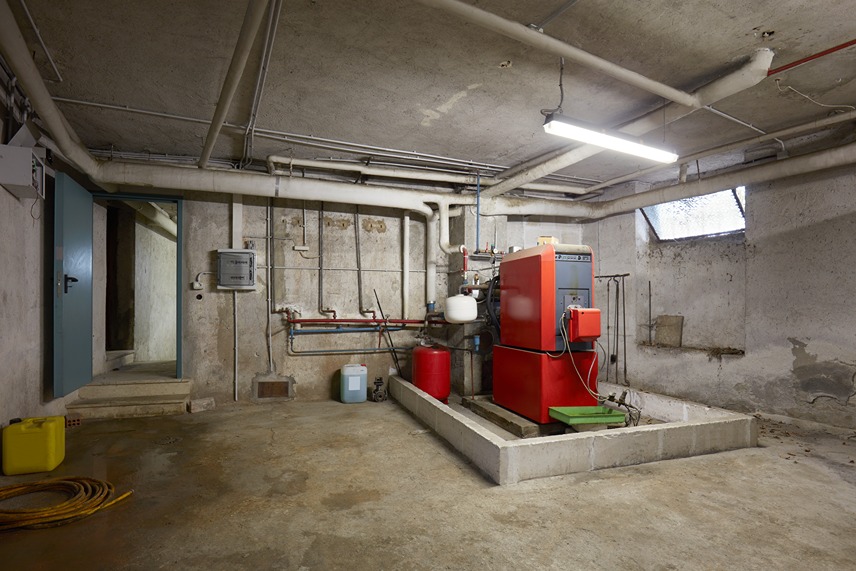
Your furnace is essential for keeping your home warm and comfortable during cold weather. However, like any other appliance, it can encounter issues that require attention. Ignoring these problems can lead to more significant issues down the line. Recognizing early signs of furnace trouble helps in avoiding costly repairs and ensures the safety of your home.

Recognizing Early Warning Signs of Furnace Problems

Being able to recognize early warning signs of furnace trouble can save you from more significant repairs later. One of the first signs is unusual noises. If you hear banging, rattling, or squealing sounds, it could indicate loose components or motor issues. Addressing these noises promptly can prevent further damage.

Another warning sign is uneven heating throughout your home. If some rooms are warmer than others, your furnace might be struggling. This could be due to a clogged filter, duct issues, or a failing thermostat. Consistent and balanced heating is a good indicator that your furnace is functioning properly.

A sudden increase in energy bills without increased usage is also a red flag. This usually means the furnace is working harder than it should to maintain desired temperatures. Regular maintenance can help identify and fix these issues before they inflate your bills even more.

Common Furnace Repairs and Their Causes

Understanding common furnace repairs and their causes can help you address issues efficiently. One frequent problem is a clogged air filter. Dirty filters restrict airflow, causing the furnace to work harder, which can lead to overheating and shutdowns. Replacing or cleaning the filters regularly can prevent this issue.

Another common repair is fixing a malfunctioning thermostat. A faulty thermostat can cause inconsistent temperatures or the furnace to run continuously. Our technicians can recalibrate or replace the thermostat to restore proper function.

Broken or worn-out belts and bearings in the blower motor are also common repairs. These components wear out over time and affect the airflow. Regular inspections can catch wear and tear early, preventing a complete blower motor failure.

  1. Ignition Issues: Problems with the ignition or pilot light can prevent your furnace from producing heat. This could be due to a faulty ignition switch or dirty sensors.
  2. Blower Motor Problems: The blower motor circulates the heated air through your home. If it fails, you will feel little to no airflow from the vents.
  3. Limit Switch Malfunction: The limit switch turns off the furnace if it overheats. A malfunctioning switch can either shut down the furnace unnecessarily or fail to shut it off when needed.

The Risks of Delaying Furnace Repairs

Delaying furnace repairs can lead to serious problems and increased costs over time. One of the primary risks is the potential for complete system failure. Small issues, such as a minor leak or a worn-out part, can escalate into significant problems that require costly repairs or even full system replacement.

Another risk is reduced energy efficiency. A malfunctioning furnace works harder to heat your home, which consumes more energy and results in higher utility bills. The longer you delay repairs, the more money you will spend on energy costs. Regular maintenance and timely repairs keep your furnace running smoothly and efficiently.

Postponing furnace repairs can also pose a safety hazard. Issues such as carbon monoxide leaks, short circuits, or electrical faults can create dangerous conditions. Prompt attention to these problems ensures your family’s safety and prevents emergencies.

Benefits of Timely Furnace Repair with D&F Plumbing, Heating and Cooling

Timely furnace repairs offer numerous benefits that enhance comfort and safety. First, addressing issues early ensures your furnace operates at peak efficiency, reducing energy consumption and saving money on utility bills. Proper furnace maintenance helps prevent unexpected breakdowns, which can be inconvenient and costly.

Timely repairs also extend the lifespan of your furnace. By fixing small problems before they become major issues, you can prolong the life of your heating system and delay the need for a replacement. Regular maintenance helps identify wear and tear, allowing our professionals to perform necessary repairs and keep your furnace in top condition.

Safety is another significant benefit. Timely furnace repairs prevent potential hazards such as carbon monoxide leaks or electrical issues. Our professionals conduct thorough inspections to ensure all components function correctly, providing peace of mind and a safe home environment.

Here are other benefits of timely furnace repair:

  1. Improved Air Quality: Regular maintenance and prompt repairs help maintain clean air filters and ductwork, improving indoor air quality.
  2. Consistent Heating: Fixing issues promptly ensures even and reliable heating throughout your home, enhancing overall comfort.
  3. Warranty Protection: Many furnace warranties require regular maintenance and timely repairs to remain valid, protecting your investment.

Conclusion

Maintaining your furnace through regular inspections and timely repairs is crucial for ensuring efficient and safe operation. Recognizing early warning signs, understanding common repairs, and appreciating the risks of delaying maintenance can save you from costly and extensive issues down the line. Timely repairs not only enhance comfort and safety but also extend the lifespan of your furnace and improve energy efficiency.

For dependable and professional furnace repair in Salmon Creek, WA, trust the experts at D&F Plumbing, Heating and Cooling. Our skilled technicians are dedicated to providing high-quality service and ensuring your furnace operates at its best. Contact us today to schedule your furnace repair and enjoy a warm, comfortable home all year round!
How to Identify and Solve Common Bathroom Remodeling Issues

bathroom remodel

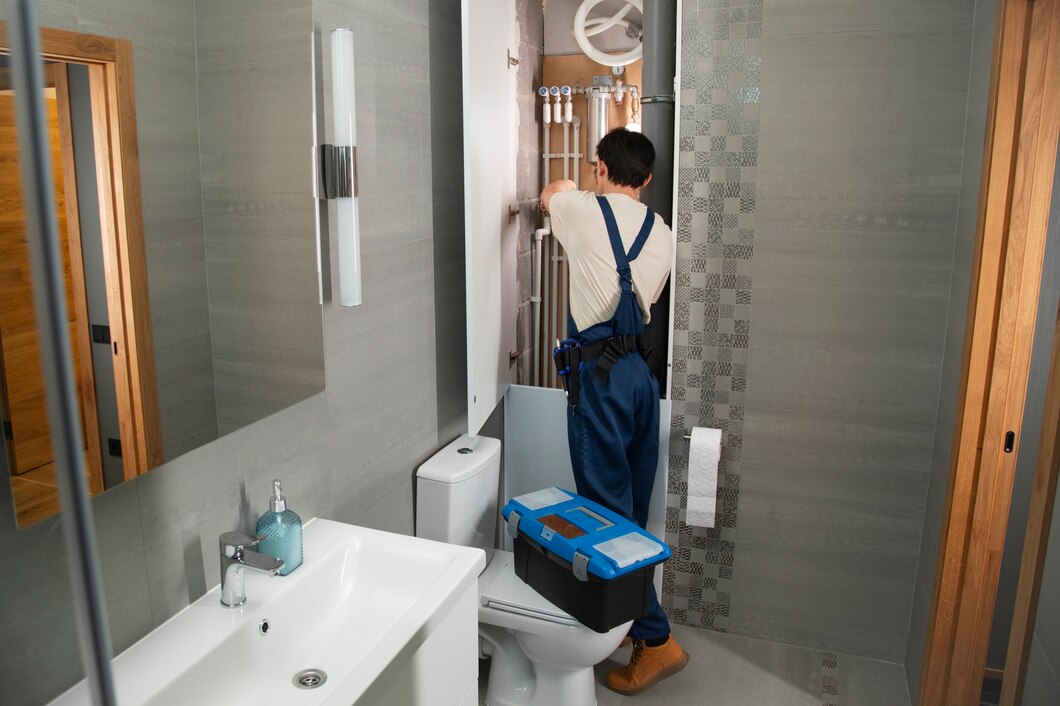
Bathroom remodeling can greatly improve the functionality and aesthetics of your home. However, it often comes with its own set of challenges. Identifying and solving these common problems is key to a successful renovation. Whether you are dealing with plumbing issues, space constraints, or choosing the right materials, knowing how to address these concerns can make the process smoother.

Identifying Common Plumbing Issues in Bathroom Remodeling

Plumbing issues are common in bathroom remodeling projects and can cause significant delays if not addressed promptly. One frequent issue is outdated pipes. Old plumbing systems can be prone to leaks and corrosion, which can lead to serious water damage. During your remodel, our professionals can inspect your existing pipes and recommend upgrades to ensure your plumbing system is reliable and up to code.

Another common plumbing problem is low water pressure. This can be caused by mineral buildup in the pipes, faulty fixtures, or issues with the water supply line. Identifying the cause of low water pressure early on can save you from future frustrations. Our technicians can clean or replace pipelines and fixtures to restore adequate water flow.

Drainage problems are also a concern during bathroom remodeling. Clogged or slow drains can result from hair, soap scum, and other debris accumulating over time. Upgrading your drainage system can prevent these issues from recurring. Ensuring proper ventilation and using drain screens can help keep your drains clear and functioning efficiently.

Solving Layout and Space Constraints

Solving layout and space constraints is crucial for a successful bathroom remodel, especially in smaller spaces. One effective strategy is to use space-saving fixtures. Wall-mounted sinks and toilets can free up floor space, making the bathroom feel more open. Installing recessed shelves and cabinets can also provide additional storage without taking up valuable floor area.

Consider reconfiguring the layout to make better use of the space. Moving fixtures like the sink, toilet, or shower can create a more efficient flow and make the bathroom feel larger. For instance, placing the sink in a corner or using a pedestal sink can open up the room. Our professionals can help design a layout that maximizes the use of space.

Using light colors and reflective surfaces can also make a small bathroom appear larger. Light-colored tiles, mirrors, and glass shower doors can enhance natural light and create the illusion of more space. Avoiding bulky fixtures and choosing a minimalist design can also contribute to a more spacious feel.

Careful planning and expert advice from our professionals can help you achieve the best results for your bathroom remodeling project.

Choosing the Right Materials and Fixtures

Selecting the right materials and fixtures for your bathroom remodeling project can make a significant difference in the room’s functionality and aesthetic appeal. Start by choosing durable materials that can withstand moisture and frequent use. Porcelain or ceramic tiles are excellent options for both floors and walls, as they are water-resistant and easy to clean.

When it comes to fixtures, opt for high-quality items that offer both style and longevity. For instance, stainless steel or brass fixtures resist corrosion better than lower-grade materials. Investing in a good-quality showerhead, faucets, and vanity will save you money in the long run by minimizing the need for repairs and replacements.

Consider your bathroom’s overall design theme. Matching fixtures and hardware can create a cohesive look. For example, if you choose a modern theme, sleek and minimalist fixtures will complement the design. On the other hand, vintage-style fixtures with detailed finishes may suit a more traditional bathroom. It’s essential to balance aesthetics with practicality to ensure your bathroom is both beautiful and functional.

Choosing eco-friendly materials and fixtures can also be beneficial. Options like low-flow toilets and water-saving showerheads help conserve water and reduce utility bills, contributing to a more sustainable home.

Benefits of Professional Assistance with Bathroom Remodeling

Hiring professionals for your bathroom remodeling project offers numerous advantages. First, our professionals bring a wealth of experience and expertise to the table, ensuring that all aspects of the job are handled correctly. From plumbing and electrical work to tiling and fixture installation, our technicians are skilled in their respective trades.

Another benefit of professional assistance is time efficiency. Remodeling a bathroom can be time-consuming, especially if you lack the necessary skills and tools. Our professionals can complete the project faster and more efficiently, allowing you to enjoy your new bathroom without extended delays.

Professional remodeling also guarantees safety and compliance with building codes. Our technicians are knowledgeable about local regulations and will ensure your bathroom meets all safety standards. This compliance is crucial for avoiding potential fines and ensuring the long-term durability of your remodel.

Additionally, our professionals have access to high-quality materials and fixtures at competitive prices. Their established relationships with suppliers can result in cost savings for you. They can also provide valuable design advice, helping you select the best options for your needs and preferences.

Conclusion

A successful bathroom remodeling project hinges on identifying and solving common issues early. By addressing plumbing problems, optimizing your layout, and carefully selecting materials and fixtures, you can transform your bathroom into a functional and aesthetically pleasing space. Utilizing professional assistance offers numerous benefits, including expert knowledge, efficiency, and compliance with safety standards.

For seamless bathroom remodeling in Sunnyside, trust the skilled technicians at D&F Plumbing, Heating, and Cooling. Contact us today to schedule a consultation, and let us help you create the bathroom of your dreams!

Recognizing the Signs of Heat Pump Failure

heat pump

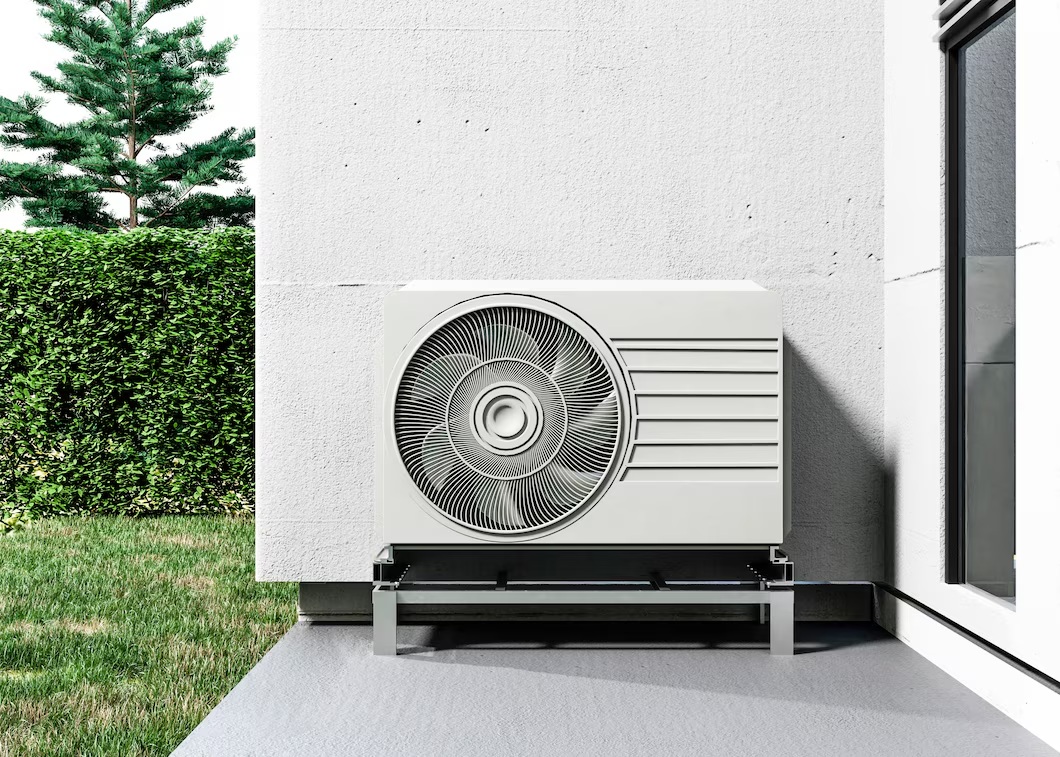
A heat pump is a key component of your home’s heating and cooling system. It helps maintain a comfortable temperature throughout the year by transferring heat in and out of your home. However, like any mechanical system, heat pumps can develop problems over time. Recognizing the signs of heat pump failure early can save you from costly repairs and discomfort.

Unusual Noises Indicating Heat Pump Issues

One of the first signs of a failing heat pump is unusual noises. These noises can range from rattling and buzzing to squealing and grinding. Each type of noise can indicate a different issue that requires attention.

  • Rattling: This may be caused by loose components or debris in the system. If left unaddressed, the loose parts can cause more significant damage.
  • Buzzing: Electrical issues usually cause a buzzing sound. It may result from a failing capacitor or other electrical components within the heat pump.
  • Squealing: A squealing noise often indicates problems with the motor or blower. It could be a sign of worn-out belts or bearings that need lubrication or replacement.
  • Grinding: Grinding sounds are usually the most serious and often indicate a problem with the motor bearings. If you hear this noise, turn off the system immediately and contact our professionals.

Inconsistent Heating or Cooling Performance

Inconsistent heating or cooling is another common sign of heat pump failure. This issue can make it difficult to maintain a comfortable temperature in your home.

Several factors can cause inconsistent performance:

  • Thermostat Problems: A malfunctioning thermostat can cause the heat pump to turn on and off frequently, resulting in uneven heating or cooling. Checking the thermostat settings and batteries can resolve this problem in some cases.
  • Refrigerant Leaks: Low refrigerant levels can prevent the heat pump from effectively transferring heat. If you notice your system struggling to maintain the set temperature, a refrigerant leak might be the issue. Our professionals can identify and fix any leaks, restoring your system’s efficiency.
  • Blocked Air Filters: Dirty or clogged air filters restrict airflow, making it harder for the heat pump to circulate air. Regularly replacing or cleaning air filters ensures optimal airflow and consistent performance.

Strange Odors from the Heat Pump System

Strange odors coming from your heat pump can be a sign of underlying issues that need immediate attention. Different smells can indicate various problems, each requiring a specific type of heat pump repair.

  • Burning Smell: A burning odor typically points to electrical problems or overheating components. Wires, motors, or other parts may be the source of the smell. This is a serious issue that requires immediate attention to prevent potential fire hazards.
  • Musty Smell: A musty or moldy odor suggests moisture buildup inside the unit. This could be due to blocked drainage or accumulated condensation. Mold and mildew not only create an unpleasant smell but also pose health risks.
  • Chemical Smell: If you detect a chemical odor, it could mean a refrigerant leak. Refrigerant is crucial for the heat pump’s operation, and a leak can drastically reduce its efficiency. Our professionals can locate and fix refrigerant leaks to restore normal function.

Professional Assessment and Repair Options

When your heat pump displays signs of failure, a professional assessment is crucial. Our professionals perform detailed inspections to identify the problem accurately. They have the expertise and tools to diagnose issues that might be overlooked by the untrained eye.

The first step in a professional assessment is a visual and functional examination of the heat pump. Our technicians check components like the compressor, fan, and electrical wiring. They also test the system’s performance to pinpoint any irregularities. This thorough inspection ensures that all potential issues are identified.

Once the problem is diagnosed, our professionals will discuss repair options with you. Common heat pump repairs include fixing electrical faults, sealing refrigerant leaks, replacing worn-out parts, and cleaning or replacing air filters. Understanding these repair options helps you make informed decisions about your heat pump system.

Choosing professional repair services ensures that the job is done correctly and safely. Our technicians have the training and experience to address all types of heat pump issues. This professional approach minimizes downtime and extends the lifespan of your system. Timely and effective heat pump repair can maintain comfort in your home for years to come.

Conclusion

Recognizing the early signs of heat pump failure is vital for maintaining a comfortable and efficient home environment. Unusual noises, inconsistent heating or cooling, and strange odors are clear indicators that your heat pump might need attention. By addressing these problems promptly, you can prevent more severe issues and ensure your system operates effectively.

Don’t wait for minor issues to become major problems. Contact D&F Plumbing, Heating, and Cooling today for expert heat pump repair in Vancouver, WA, and keep your home comfortable all year round!

Emergency Furnace Repairs: What to Do When Your Heat Fails

furnace

Facing a furnace failure during cold weather can be a stressful experience. When your heat fails, it’s essential to act quickly to restore comfort and safety in your home. Understanding the common causes of furnace failures and knowing what steps to take immediately can make a significant difference.

Common Causes of Furnace Failures

Thermostat Issues

One common cause of furnace failure is a malfunctioning thermostat. If the thermostat is not working correctly, it can cause the furnace to stop producing heat. Sometimes, the issue might be as simple as dead batteries or incorrect settings. In other cases, the thermostat itself may need replacement or recalibration.

Dirty Filters

Dirty air filters are another frequent cause of furnace problems. Over time, filters can become clogged with dust, dirt, and debris, restricting airflow. This can cause the furnace to overheat and shut down. Regularly changing or cleaning filters can prevent this issue and ensure the system operates efficiently.

Ignition or Pilot Control Problems

Issues with the ignition system or pilot control can prevent the furnace from heating your home. These problems can stem from a faulty ignition system, dirty pilot light, or issues with the gas supply. If the pilot light is not staying lit or the ignition system fails to start the burners, the furnace will not heat effectively.

Wear and Tear

Over time, normal wear and tear can lead to furnace component failures. Motors, belts, and other moving parts can wear out, causing the system to lose efficiency or stop working. Regular maintenance can help detect these issues early and prevent unexpected breakdowns.

Electrical Problems

Furnaces rely on various electrical components to operate, including wiring, switches, and fuses. Any failure or disruption in these electrical parts can cause the furnace to stop working. Ensuring that connections are tight and components are in good condition can prevent most electrical issues.

Immediate Steps to Take When Your Furnace Fails

Check the Thermostat

The first step to take when your furnace fails is to check the thermostat. Ensure it is set to “heat” and the temperature setting is higher than the current room temperature. If the thermostat uses batteries, replace them to rule out easy fixes.

Inspect the Circuit Breaker

Next, check the circuit breaker. Sometimes, a tripped breaker could cause the furnace to fail. Locate your home’s electrical panel and ensure the breaker for the furnace is in the “on” position. Reset it if necessary.

Verify the Furnace Switch

Furnaces usually have a dedicated power switch, often located nearby. Ensure this switch is turned on. Sometimes, the switch might be flipped off accidentally.

Look at the Furnace Filter

Inspect the air filter for clogs or excessive dirt. A dirty filter can cause the furnace to shut down to prevent overheating. If the filter looks dirty, replace or clean it and see if the furnace starts working again.

Check the Pilot Light or Ignition System

If you have an older furnace with a pilot light, make sure it is lit. For newer systems with electronic ignitions, ensure that the system is receiving power and try resetting it. Consult the furnace manual for specific instructions.

Assess for Any Visible Damage

Look for any visible damage or obvious issues, such as disconnected ducts or physical damage to the furnace unit. While some problems may be beyond your skill to fix, identifying them can help when explaining the issue to a professional.

DIY Troubleshooting Tips for Furnace Repair

Check the Air Filter

One simple troubleshooting step is to check the air filter. A dirty air filter can restrict airflow, causing your furnace to overheat and shut down. Replacing or cleaning a clogged filter can often restore normal function. Make it a habit to check and replace filters regularly to prevent future issues.

Inspect the Thermostat

Ensure your thermostat is working correctly. Set it to “heat” and make sure the temperature is set higher than the current room temperature. Replace the batteries if necessary. If the thermostat is still malfunctioning, it may require recalibration or replacement.

Examine the Vents and Registers

Blocked or closed vents and registers can cause uneven heating and strain the furnace. Ensure that all vents and registers are open and unobstructed. This will promote proper airflow and help the furnace heat your home more efficiently.

Reset the Furnace

Many furnaces have a reset button or switch. If the furnace is not working, try resetting it. Consult the furnace manual for specific instructions on how to reset your particular model. This can sometimes resolve minor electronic glitches.

Clear the Area Around the Furnace

Make sure the area around your furnace is clear of any obstructions. Flammable materials and debris can block airflow or pose safety hazards. Keeping the area clean and free of clutter helps your furnace operate safely and efficiently.

When to Call a Professional for Furnace Repair

Persistent Issues After DIY Troubleshooting

If you have tried basic troubleshooting steps and the furnace still does not work, it’s time to call a professional. Persistent problems could indicate more significant issues that require specialized tools and expertise to fix.

Strange Noises or Smells

Unusual noises like banging, rattling, or squealing coming from the furnace can indicate mechanical problems. Strange smells, especially those resembling gas or burning, should be addressed immediately by a professional. These signs can indicate severe issues that need prompt attention.

Frequent Cycling On and Off

If your furnace frequently cycles on and off, it could be a sign of a malfunction or inefficient operation. This issue can lead to increased energy costs and wear on the system. Our technicians can diagnose the problem and provide the necessary repairs to restore proper function.

Inconsistent Heating

Cold spots or inconsistent heating throughout your home can indicate a problem with your furnace or ductwork. Our professionals can inspect the system, identify the cause, and recommend the best solution to ensure even heating.

Lack of Heat

If the furnace is running but not producing any heat, there could be an issue with the burners, heat exchanger, or electrical components. These problems require professional diagnosis and repair to ensure safe and efficient operation.

Conclusion

Dealing with a failed furnace can be stressful, especially during cold weather. Understanding common causes of furnace failures and knowing immediate steps to take can help you manage the situation effectively. By addressing furnace issues promptly, you can ensure the comfort and safety of your home.

For expert furnace repair in Portland, OR, trust D&F Plumbing, Heating and Cooling. Our professionals are ready to diagnose and fix your furnace issues, ensuring your home stays warm and comfortable. Contact us today to schedule an appointment and experience reliable service from our skilled technicians!

Understanding Backflow Prevention: Protect Your Home’s Water Supply

plumber

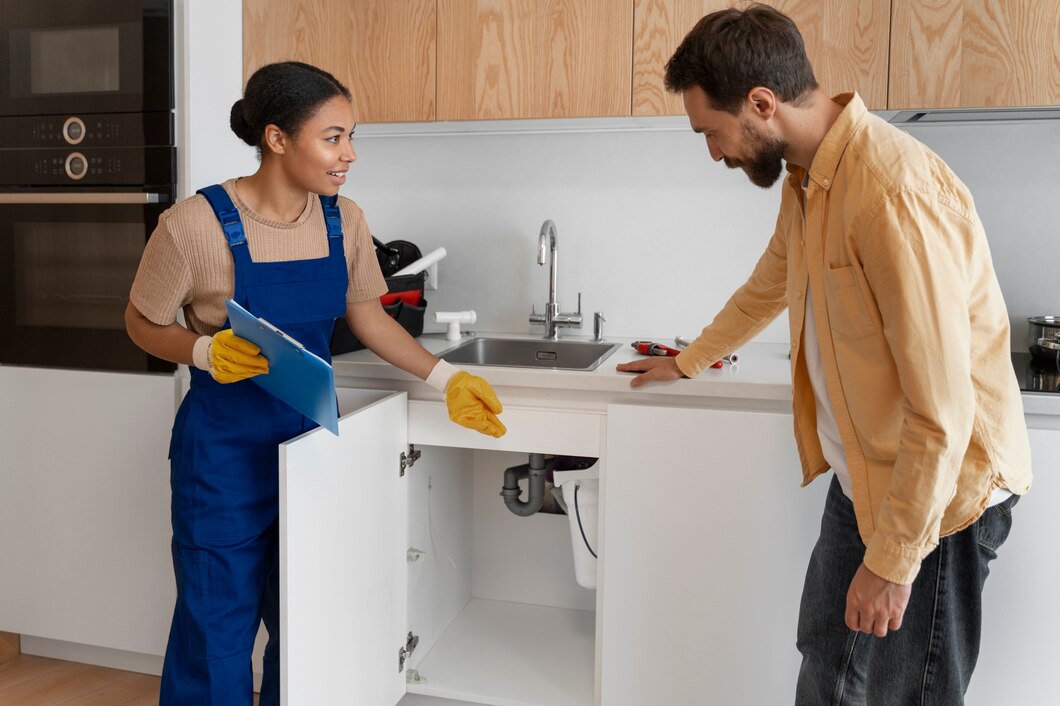
Backflow prevention is crucial for maintaining a safe water supply in your home. Without proper safeguards, contaminated water can flow back into your clean water lines, posing a serious health risk. Understanding what backflow is and how to prevent it helps ensure your family has access to clean, safe water at all times.

Explore what backflow is, the types of prevention devices available, how to recognize when you need one, and the best practices for maintaining these systems. 

What Is Backflow and Why Is It a Problem?

Backflow occurs when the flow of water reverses direction in your plumbing system. This can happen due to changes in water pressure, such as during a pipe burst or a significant drop in the municipal water supply pressure. When backflow happens, contaminated water from various sources can enter your clean water supply.

Contaminants from backflow can include harmful substances such as chemicals, pesticides, and bacteria. These can originate from sources like garden hoses, sprinkler systems, and industrial fluids. Without proper backflow prevention, these contaminants have a direct path into your drinking, cooking, and bathing water, posing serious health risks.

Backflow is a problem not just for individual homes but also for entire communities. Contaminated water can spread quickly through municipal water lines, affecting multiple households and leading to widespread health issues. Therefore, installing effective backflow prevention devices is essential to safeguard public health and maintain water quality.

Types of Backflow Prevention Devices

Air Gap

An air gap is a simple yet effective backflow prevention method. By creating a physical space between the water outlet and the flood level of a fixture, it prevents contaminated water from siphoning back into the clean water supply. This method is commonly used in sinks and other plumbing fixtures.

Reduced Pressure Zone (RPZ) Valve

The RPZ valve is a more advanced backflow prevention device. It has multiple check valves and a pressure relief valve to ensure that contaminated water cannot backflow into the clean supply. RPZ valves are often used in commercial settings but can also be a good option for residential properties with high backflow risks.

Double Check Valve Assembly (DCVA)

A DCVA consists of two check valves installed in series, providing double protection against backflow. This type of device is suitable for low to medium hazard conditions. It’s a common choice for various residential and commercial applications due to its reliability and easy maintenance.

Pressure Vacuum Breaker (PVB)

The PVB is another effective backflow prevention device. It uses a check valve and an air inlet valve to prevent backflow. When water pressure drops, the air inlet valve opens, breaking the vacuum and stopping the reverse flow of water. PVBs are often used in irrigation systems.

Choosing the right backflow prevention device depends on the specific needs of your property. Consulting with our professionals can help determine the best solution for your home and ensure proper installation and maintenance.

Signs You Need a Backflow Prevention Device

Unusual Water Flow

One of the first signs you might need a backflow prevention device is unusual water flow in your plumbing system. If you notice water flowing back through your faucets or toilets, it’s a clear indication that backflow is occurring. This can lead to contamination and poses significant health risks.

Discolored Water

Discolored water is another warning sign that backflow prevention devices might be necessary. If your tap water appears brown, yellow, or has any unusual colors, it may indicate that contaminants are mixing with your clean water supply. This situation requires immediate attention to prevent health hazards.

Strange Taste or Odor

Water that tastes or smells odd can be a symptom of backflow. Contaminants such as chemicals, bacteria, or even sewage can give water a strange taste or smell. If you experience any changes in your water’s taste or odor, consider installing a backflow prevention device to safeguard your water quality.

Garden and Irrigation Systems

Properties with garden and irrigation systems are more susceptible to backflow issues. These systems can create pressure differences that lead to backflow. If you have an irrigation system, it’s essential to have a backflow prevention device to protect your drinking water supply from contaminants.

How to Maintain Your Backflow Prevention System

Regular Inspections

Regular inspections by our professionals are crucial to maintaining your backflow prevention system. These inspections help identify any issues before they become serious problems. Routine checks ensure that the device is working correctly and providing adequate protection for your water supply.

Cleaning and Servicing

Cleaning the components of backflow prevention devices is essential for their reliable operation. Over time, debris can accumulate and affect their functionality. Periodic cleaning and servicing by our technicians will keep the system running smoothly, ensuring optimal performance and longevity.

Replace Worn-Out Parts

Backflow prevention devices have various parts that can wear out over time. These parts should be replaced promptly to maintain the device’s effectiveness. Regular maintenance schedules usually include checking for worn-out parts and replacing them as needed.

Keep Records

Keeping records of all inspections, maintenance, and repairs is helpful. This documentation helps track the history of your backflow prevention system and can be useful for troubleshooting any future issues. It also ensures that your system complies with local plumbing codes and regulations.

Conclusion

Maintaining a clean and safe water supply is essential for your home’s health and wellbeing. Recognizing the signs that you need a backflow prevention device and understanding the various types available can protect your water from contamination. Regular maintenance and inspections ensure that your backflow prevention system operates efficiently and continues to safeguard your water quality.

If you suspect backflow in your plumbing system, don’t wait to take action. Contact D&F Plumbing, Heating, and Cooling today for professional assistance with your backflow prevention in Sunnyside, OR. Our experienced technicians are ready to help you maintain a safe and reliable water supply for your home. Protect your home’s water quality by scheduling an assessment with us now!

Is It Time for a Furnace Replacement? Key Warning Signs

furnace

A well-functioning furnace is crucial for maintaining comfort in your home, especially during the cold months. However, even the best furnaces don’t last forever. Knowing when it’s time for a furnace replacement can save you from unexpected breakdowns and ensure that your home remains warm and comfortable.

Age of Your Furnace: When Is It Too Old?

Furnaces have a lifespan that typically ranges between 15 to 20 years. If your furnace is approaching or has exceeded this age range, it may be time to consider a furnace replacement. Older furnaces can become less efficient and are more prone to frequent breakdowns. The components wear out over time, leading to diminished performance and higher energy consumption.

Observe the maintenance and repair history of your furnace. If you notice an increase in the frequency of repairs or if the cost of parts and labor is adding up, your aging furnace might be costing you more than it’s worth. Investing in a new, energy-efficient furnace can save you money in the long run and provide more reliable heating.

Additionally, the technology in heating systems has advanced significantly. Newer models are designed to be more energy-efficient and environmentally friendly. Upgrading to a modern furnace can improve indoor air quality and enhance comfort levels while reducing your energy bills. If your furnace is reaching that 15 to 20-year mark, it might be wise to start exploring your replacement options.

Inconsistent Heating and Rising Energy Bills

Uneven heating in your home is a clear sign that your furnace may be struggling. If some rooms are too hot while others are too cold, your furnace might not be distributing air evenly. This inconsistency can make your living environment uncomfortable and disrupt the overall harmony of your home climate.

Rising energy bills are another indicator that it might be time for a furnace replacement. As furnaces age, their efficiency decreases, causing them to work harder to produce the same amount of heat. This additional effort leads to higher energy consumption and increased utility costs. If you notice a sudden spike in your energy bills without a corresponding increase in usage, it may be due to an inefficient furnace.

Keeping track of your monthly energy expenses and comparing them to previous years can help identify whether your furnace is losing efficiency. Replacing an inefficient furnace with a new, energy-efficient model can lower your energy bills and ensure consistent heating throughout your home. It’s a worthwhile investment that can pay off in improved comfort and reduced operating costs.

Frequent Repairs and Unusual Noises

Constant Need for Repairs

If you find yourself frequently calling technicians for furnace repairs, it may be a sign that your furnace is nearing the end of its lifespan. Constant breakdowns not only inconvenience you but also add up in repair costs. When repairs become more common and expensive, it can be more economical to invest in a furnace replacement.

Unusual Noises

Unusual noises coming from your furnace indicate underlying issues. Sounds like banging, rattling, or squealing can point to problems such as loose parts, a failing motor, or a cracked heat exchanger. These noises not only disrupt your peace but also indicate that the furnace may be unsafe to operate. If your furnace starts making strange sounds, consider consulting a professional to assess the situation and determine if a replacement is necessary.

Decreased Air Quality and Comfort Levels

Poor Air Quality

Your furnace plays a crucial role in maintaining the air quality in your home. An aging or malfunctioning furnace can circulate dust, allergens, and other pollutants, reducing indoor air quality. If you notice an increase in dust around your home or experience more allergy symptoms, your furnace may be to blame. Modern furnaces are equipped with advanced filtration systems that can significantly improve air quality, making a replacement a wise choice for health and comfort.

Uneven Comfort Levels

Another sign that your furnace may need to be replaced is inconsistent comfort levels throughout your home. If some rooms are too hot while others are too cold, your furnace may be struggling to distribute air evenly. This can be a sign of worn-out components or an outdated system that can’t keep up with your home’s heating demands. Upgrading to a new furnace ensures more even heating and greater overall comfort.

Conclusion

Recognizing the warning signs of an aging or inefficient furnace can save you from unexpected breakdowns and high energy costs. From frequent repairs and unusual noises to inconsistent heating and decreased air quality, these indicators help you decide if it’s time for a furnace replacement. Investing in a new furnace can improve your home’s comfort, air quality, and energy efficiency.

If you suspect your furnace may need replacement, contact D&F Plumbing, Heating and Cooling. Our professionals can assess your system and provide the best solution for your heating needs. Reach out to us today to schedule your furnace replacement in Portland, OR, and ensure your home stays warm and comfortable.

The Benefits and Installation Process of Mini Split Heat Pumps

heat pump

Mini split heat pumps are an efficient way to heat and cool your home. These systems are highly versatile and can be installed in various types of properties, making them a popular choice for homeowners looking to improve their HVAC solutions. Understanding what mini split heat pumps are and how they work can help you make an informed decision about whether they are right for your home.

What Are Mini Split Heat Pumps?

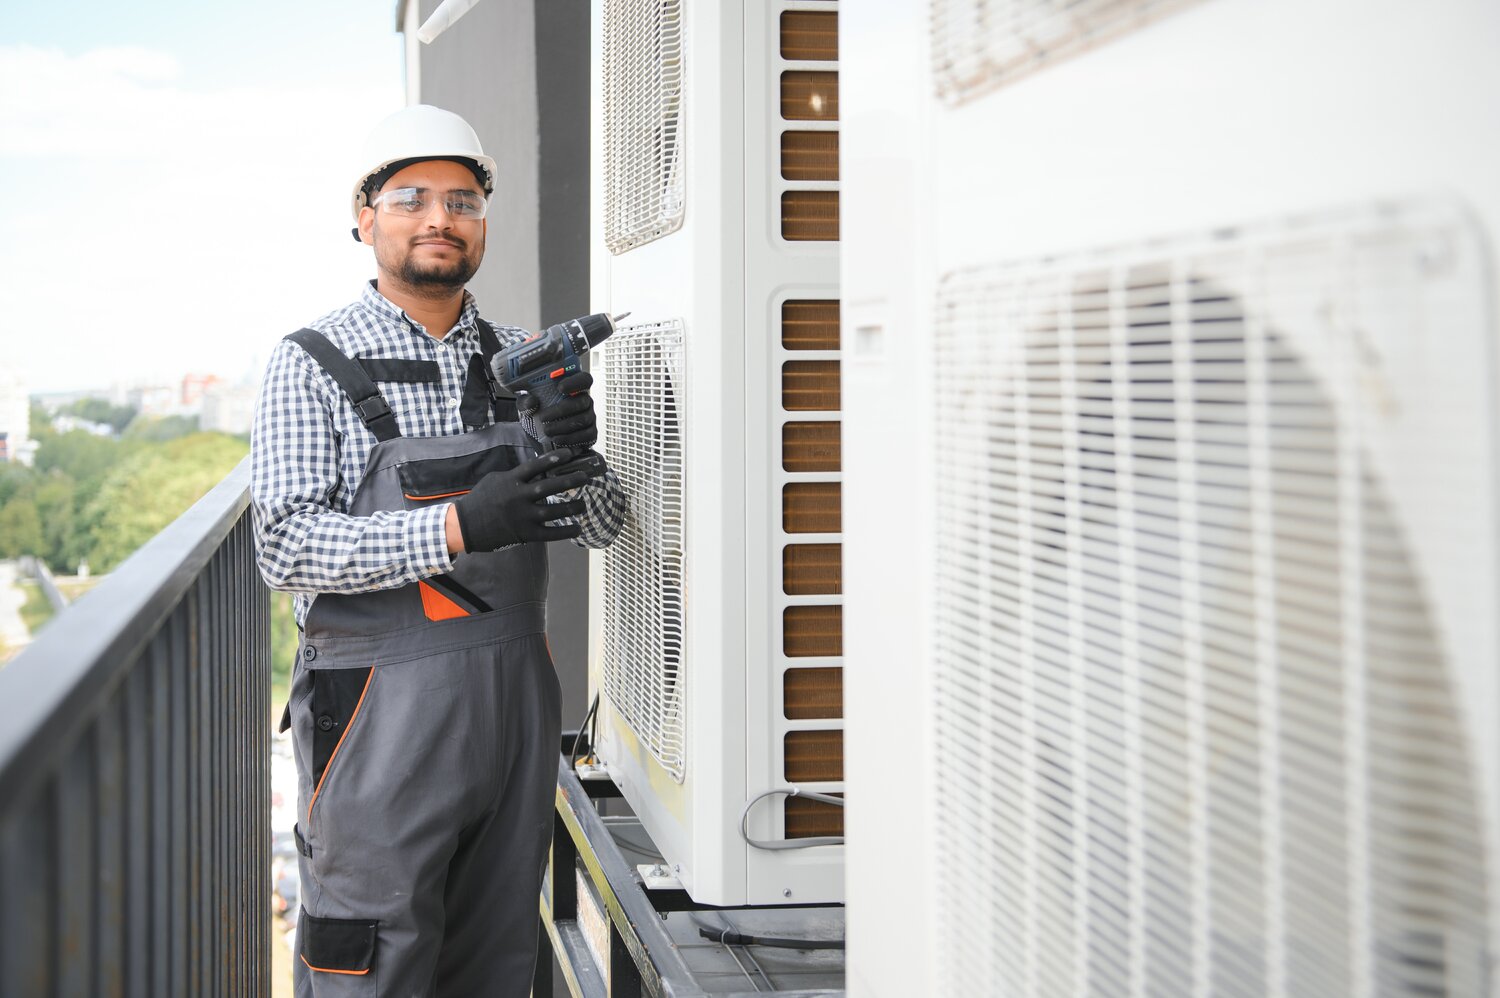
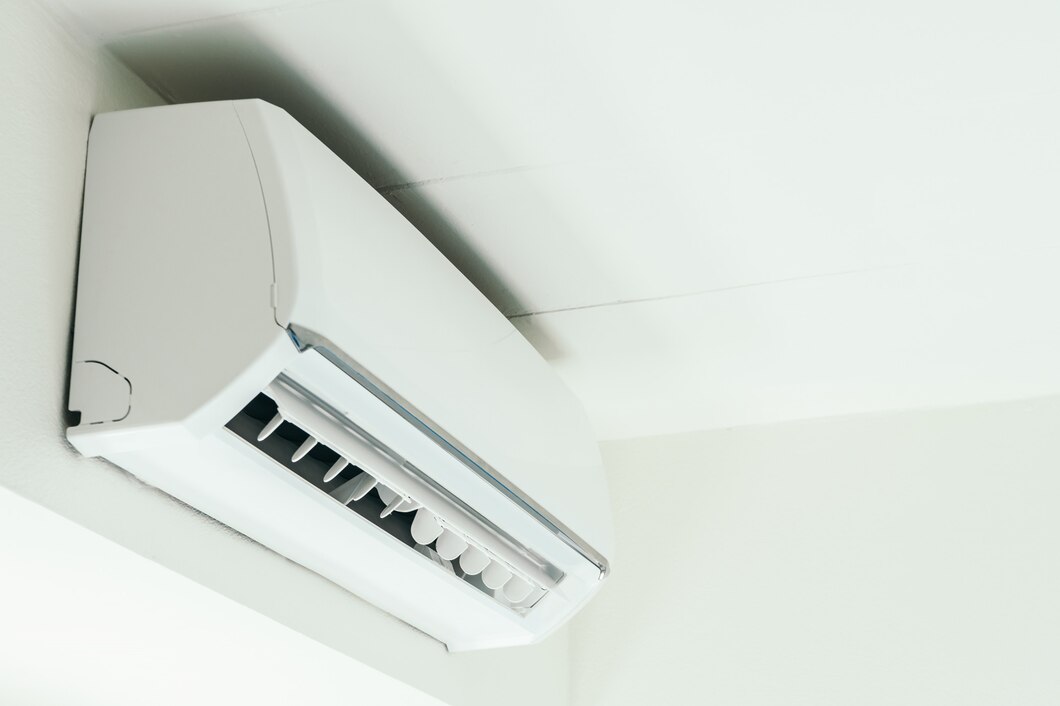
Mini split heat pumps are HVAC systems designed to provide both heating and cooling without the need for ductwork. These systems consist of two main components: an outdoor compressor or condenser unit and one or more indoor air-handling units. The indoor units can be mounted on the wall, ceiling, or floor, giving you flexibility in installation.

The outdoor unit and indoor units are connected by a conduit that houses the power cable, refrigerant tubing, suction tubing, and a condensate drain. This setup allows the system to transfer heat between the indoors and outdoors efficiently. In the summer, the heat pump extracts heat from the indoor air and releases it outside, cooling your home. In the winter, it reverses the process, extracting heat from the outside air and bringing it indoors to warm your home.

Mini split heat pumps are ideal for homes without existing ductwork and for areas where extending or installing ductwork would be impractical. They are also great for adding to an existing system that cannot provide adequate heating or cooling to certain rooms. This flexibility makes mini split heat pumps a popular choice for many homeowners.

Key Benefits of Mini Split Heat Pumps

Energy Efficiency

One of the main benefits of mini split heat pumps is their energy efficiency. Because they do not rely on ductwork, which can account for significant energy losses, they deliver air directly to each room. This means less wasted energy and lower utility bills for homeowners. Additionally, many mini split systems have high SEER (Seasonal Energy Efficiency Ratio) ratings, making them efficient options for temperature control.

Zoned Heating and Cooling

Mini split heat pumps allow for zoned heating and cooling, which means you can control the temperature in individual rooms or areas of your home. This feature not only enhances comfort but also reduces energy use. You can set different temperatures for different zones, ensuring that you are not wasting energy heating or cooling unoccupied rooms.

Improved Indoor Air Quality

Ductless mini split systems often feature advanced filtration options that help reduce allergens, dust, and other particles in the air. Because these systems do not have ductwork, there is less chance for pollutants to accumulate and circulate throughout your home. This results in cleaner, healthier indoor air, which is particularly beneficial for individuals with allergies or respiratory issues.

Easy Installation

Installing a mini split heat pump is less invasive and quicker than installing a traditional HVAC system. The lack of ductwork reduces the need for extensive renovations, and the compact nature of the units allows for flexible placement. Our professionals can install a mini split system with minimal disruption to your home.

Steps Involved in Installing Mini Split Heat Pumps

Site Assessment

The first step in installing a mini split heat pump involves a thorough site assessment. Our professionals will evaluate your home to determine the best locations for both the outdoor and indoor units. This assessment will consider factors like room size, insulation, and existing electrical systems. Proper placement ensures maximum efficiency and performance.

Mounting the Indoor Unit

Once the optimal locations are chosen, the indoor unit is mounted. The unit is typically installed high on a wall to allow for efficient distribution of air throughout the room. A mounting plate is secured to the wall, and the indoor unit is attached to this plate. Our technicians will ensure that the unit is level and properly anchored.

Installing the Outdoor Unit

The outdoor unit is placed on a stable surface outside your home. It should be in a location that allows for good airflow and easy access for maintenance. The unit is typically placed on a concrete pad or mounted on brackets on an exterior wall. This ensures it remains secure and operates efficiently.

Connecting the Units

The indoor and outdoor units are connected through a conduit that houses the refrigerant lines, power cables, and a condensate drain. A small hole is drilled into an exterior wall to run the conduit between the units. The lines are then carefully insulated and sealed to prevent any leaks. This step is crucial for the smooth operation of the system.

Testing and Calibration

After the installation is complete, our technicians will test the system to ensure everything is functioning correctly. This involves checking the refrigerant levels, electrical connections, and overall system performance. The units are then calibrated to provide the desired temperature settings, ensuring your new mini split heat pump operates efficiently from the start.

Maintenance Tips for Mini Split Heat Pumps

Regular Cleaning

Regular cleaning of your mini split heat pump is essential to maintain its efficiency. Dust and debris can accumulate on the indoor unit’s filters and coils, reducing airflow and performance. Clean the filters at least once a month and wipe down the coils with a soft cloth. Keeping the unit free of dirt ensures optimal operation.

Check for Obstructions

Ensure that the outdoor unit is free from obstructions such as leaves, grass, and other debris. These can block airflow and reduce the efficiency of the system. Regularly inspect the area around the outdoor unit and clear any obstructions. This simple step helps maintain the unit’s performance and longevity.

Professional Inspections

Scheduled inspections by our professionals are vital to keeping your mini split heat pump running smoothly. During these inspections, technicians will check for any potential issues, clean the internal components, and ensure the system is operating efficiently. Regular maintenance visits can prevent costly repairs and extend the lifespan of your unit.

Monitor System Performance

Keep an eye on how your mini split heat pump is performing. If you notice any unusual noises, poor airflow, or inconsistent temperatures, contact our professionals immediately. Early detection of issues can prevent them from becoming major problems, ensuring your system remains effective and efficient.

Conclusion

Mini split heat pumps offer a versatile and efficient solution for both heating and cooling your home. Understanding the benefits and installation steps helps ensure you make the right choice for your specific needs. Proper maintenance is crucial to keep the system running efficiently and prolong its lifespan. From site assessment to regular cleaning, each step plays a key role in optimal performance.

If you’re considering installing mini split heat pumps in Clackamas, contact D&F Plumbing, Heating, and Cooling. Our experienced technicians can guide you through the process and provide the necessary maintenance to keep your system functioning at its best!

Quick Fixes for Ductless AC Problems You Should Avoid

air conditioner

Ductless air conditioning systems are a popular choice for many homeowners due to their efficiency and ease of installation. However, like any other system, ductless AC units can experience problems that need proper attention. Quick fixes or DIY solutions can often make these issues worse, leading to costly repairs or replacements. Understanding why certain quick fixes should be avoided can help ensure your ductless AC operates smoothly and efficiently.

Ignoring Regular Maintenance

Importance of Routine Checks

Ignoring regular maintenance for your ductless AC can lead to numerous problems. Routine checks and cleaning help ensure that your system runs efficiently and extends its lifespan. Neglecting maintenance tasks can result in reduced performance, higher energy bills, and even unexpected breakdowns.

Common Maintenance Tasks

  1. Filter Cleaning: The filters in a ductless AC unit can easily get clogged with dust and debris. Regularly cleaning or replacing these filters ensures good airflow and improves indoor air quality.
  2. Outdoor Unit Inspection: The outdoor unit also requires attention. Clear any debris, such as leaves or dirt, from around the unit to prevent obstructions and ensure efficient operation.
  3. Condensate Drain Cleaning: The condensate drain can become clogged, leading to water leaks and potential damage to the system. Regular cleaning can prevent this issue.

Consequences of Ignoring Maintenance

  • Inefficiency: When your ductless AC is not maintained, it has to work harder to cool your home, leading to increased energy bills.
  • Wear and Tear: Lack of maintenance can cause components to wear out faster, resulting in costly repairs or premature replacement of the system.
  • Reduced Comfort: A poorly maintained AC unit may struggle to maintain the desired temperature, leading to discomfort, especially during hot weather.

By scheduling regular maintenance, you ensure your ductless AC operates efficiently, saves energy, and provides reliable comfort.

Overlooking Thermostat Issues

Role of the Thermostat

The thermostat is a crucial component of your ductless AC system. It regulates the temperature and ensures the system operates efficiently. Overlooking thermostat issues can lead to incorrect temperature settings, reduced efficiency, and higher energy bills.

Common Thermostat Problems

  1. Incorrect Calibration: If the thermostat is not calibrated correctly, it may not measure the room temperature accurately. This can result in the AC running longer than necessary or not cooling the room sufficiently.
  2. Dead Batteries: Many thermostats are battery-operated. Dead or low batteries can prevent the thermostat from functioning, causing the AC unit to fail to start or stop unexpectedly.
  3. Placement Issues: Thermostats placed in direct sunlight or near heat sources can give false readings, leading to the AC running more than required.

How to Address Thermostat Issues

  • Regular Calibration: Ensure the thermostat is calibrated correctly. Our professionals can help with this to maintain accuracy.
  • Battery Checks: Regularly check and replace the batteries. Keeping spare batteries on hand can prevent sudden issues.
  • Proper Placement: Ensure the thermostat is placed in a central location away from direct sunlight and heat sources for accurate readings.

Addressing thermostat issues promptly ensures your ductless AC operates effectively and maintains a comfortable indoor environment.

Attempting DIY Refrigerant Refill

Risks of DIY Refill

Attempting to refill refrigerant in your ductless AC system yourself poses significant risks. Refrigerant levels are critical for the efficient functioning of the system. Incorrect handling or filling can lead to severe issues, including system damage and health hazards.

Potential Problems

  1. Improper Handling: Refrigerants require careful handling due to their potential health risks. Exposure can cause respiratory issues and other health problems. Without the proper equipment and knowledge, you risk personal injury.
  2. Incorrect Refill: Adding the wrong type or amount of refrigerant can damage your AC system. This can lead to inefficiency, higher energy usage, and even system failure.
  3. Void Warranty: Many AC manufacturers stipulate that only certified technicians should handle refrigerant refills. DIY attempts can void any existing warranties, leaving you unprotected against defects or future issues.

Professional Handling

Our professionals have the necessary training and equipment to manage refrigerant refills efficiently and safely. They can detect any underlying issues that may cause low refrigerant levels and address them appropriately. Opting for professional assistance ensures your ductless AC system runs efficiently and safely without risking damage or voiding warranties.

Skipping Professional Diagnostic Services

Importance of Diagnostic Services

Skipping professional diagnostic services for your ductless AC system can lead to undetected issues and long-term damage. Our professionals use diagnostic tools to identify potential problems and ensure the system operates smoothly and efficiently.

Benefits of Professional Diagnostics

  1. Early Detection: Early detection of issues such as refrigerant leaks, electrical problems, or component failures can prevent major breakdowns and costly repairs.
  2. Optimal Performance: Regular diagnostics help maintain the efficiency and performance of your ductless AC system, ensuring it runs at peak condition.
  3. Safety Assurance: Our technicians check for safety hazards, such as electrical faults or refrigerant leaks, providing peace of mind that your system is safe to use.

Why Opt for Professional Services

Professional diagnostics offer a thorough examination of your ductless AC system. Our technicians are trained to detect and resolve even the most minor issues before they become major problems. Regular diagnostic services can save you from unexpected breakdowns, ensuring your system runs efficiently and safely.

Conclusion

Quick fixes for ductless AC problems might seem appealing but can lead to significant issues and costly repairs. Ignoring regular maintenance, overlooking thermostat issues, attempting DIY refrigerant refills, and skipping professional diagnostic services can compromise the efficiency and safety of your system. By understanding these pitfalls, you can ensure your ductless AC remains in peak condition, providing reliable and efficient cooling for your home.

For comprehensive and reliable ductless air conditioning services in Tualatin, OR, trust our team at D&F Plumbing, Heating and Cooling. Our professionals are equipped with the knowledge and tools to keep your ductless AC system functioning optimally. Contact us today to schedule your maintenance or diagnostic service and ensure your home stays comfortable year-round.

When to Call a Plumber for Water Heater Installation

water heater

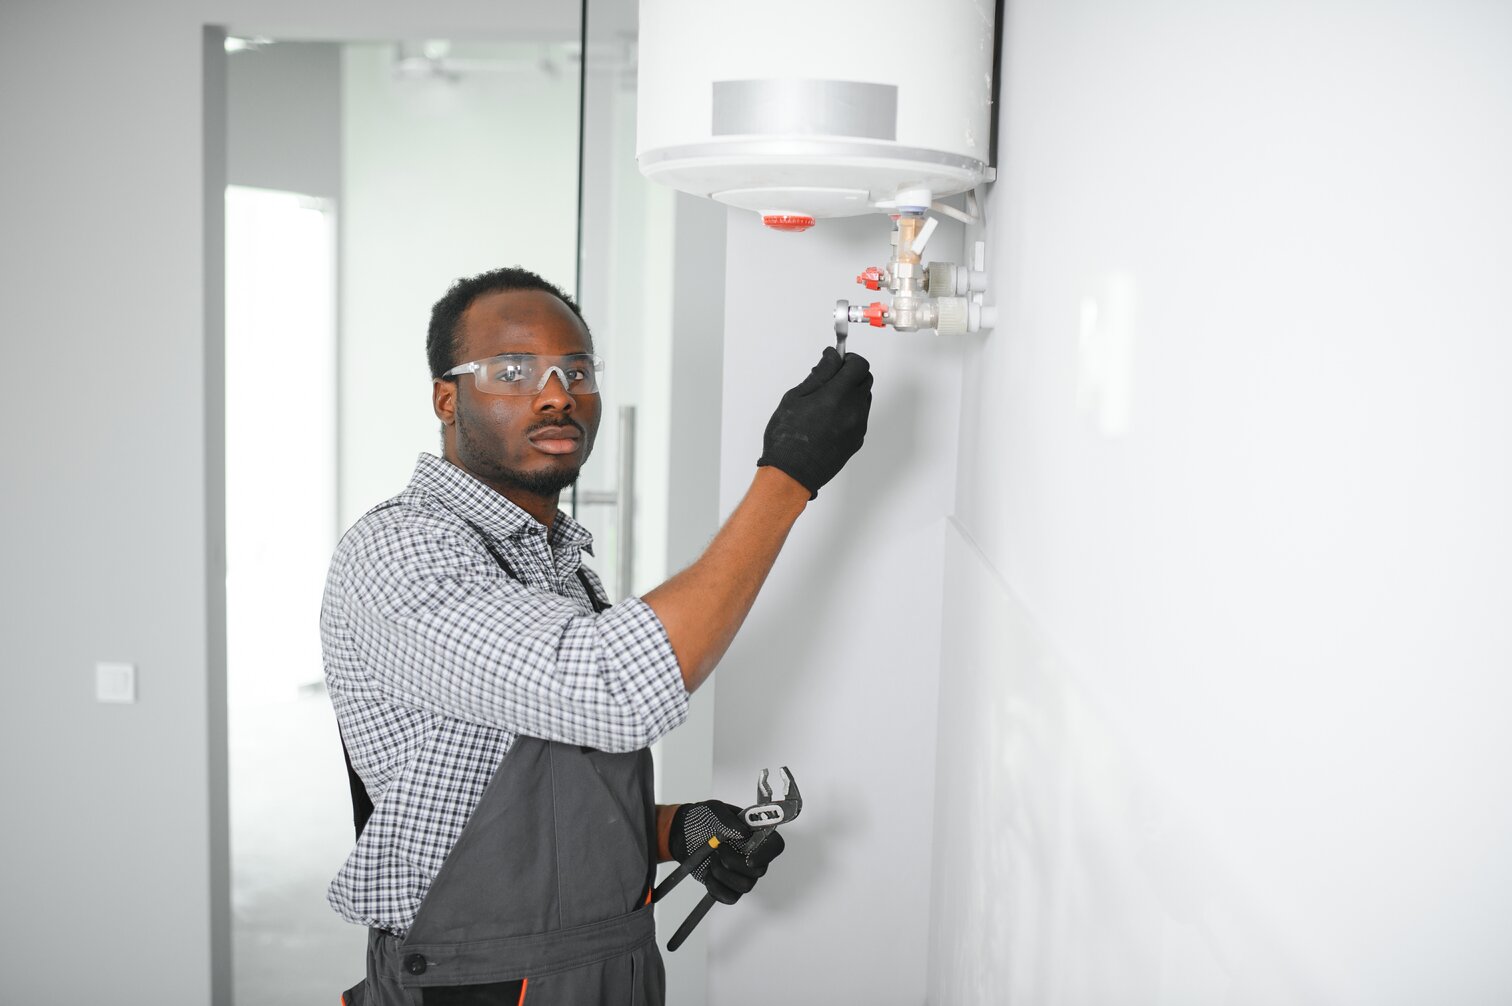
Installing a new water heater is a significant task that requires careful consideration and expertise. While some homeowners may be tempted to handle this job themselves, it’s crucial to understand when to call a plumber for water heater installation. Proper installation ensures the unit works efficiently and safely, providing reliable hot water for your household needs.

Recognizing the Signs of Water Heater Failure

Common Signs of Water Heater Problems

Before you decide to install a new water heater, it’s essential to recognize the signs of water heater failure. Being aware of these symptoms can help you determine when it’s time to replace your existing unit.

  1. Inconsistent Water Temperature: If your water heater fails to maintain a consistent temperature, it could indicate a problem. Frequent fluctuations from hot to cold water or prolonged heating times often signal the need for a new unit.
  2. Strange Noises: Unusual sounds like rumbling, popping, or banging coming from your water heater are usually a sign of sediment build-up. Over time, this sediment can damage the internal components and cause the unit to fail.
  3. Leaks and Moisture: Any visible moisture or pooling water around your water heater is a clear indication that it’s likely failing. Leaks can stem from cracks in the tank or faulty connections, warranting immediate attention.

When Replacement Becomes Necessary

Ignoring these signs can lead to more severe problems, such as a complete system breakdown or water damage in your home. If you notice any of these warning signs, it’s crucial to consult with our professionals. They can assess the situation and recommend whether a replacement is necessary.

Recognizing the signs of water heater failure early on allows you to take proactive steps, ensuring you maintain an efficient and reliable hot water supply.

Understanding the Complexity of Installation

The Installation Process

Installing a water heater involves more than just connecting a few pipes. The process is complex and requires specific skills and knowledge to ensure the unit operates correctly and safely. Here are the main steps involved:

  1. Disconnecting the Old Unit: Properly draining and disconnecting the existing water heater is crucial. This step involves shutting off the water and power supply, safely removing the old unit, and disposing of it according to local regulations.
  2. Preparing the Installation Site: The new installation site must be prepared, which includes setting up the appropriate connections for water, gas, or electricity, as well as ensuring proper ventilation for gas units.
  3. Installing New Equipment: The new water heater must be carefully positioned and connected securely. This includes plumbing connections, electrical wiring, or gas line installation, depending on the type of heater.

Challenges Homeowners May Face

Attempting to install a water heater on your own can present several challenges:

  • Incorrect Installation: A minor mistake during installation can lead to significant issues, such as water leaks, inefficient heating, or potential safety hazards.
  • Code Compliance: Plumbing codes and regulations must be followed meticulously. Non-compliance can result in penalties or the need for reinstallation.
  • Technical Knowledge: Installing a water heater requires familiarity with both the unit and the specific requirements of your home’s plumbing and electrical systems.

Understanding the complexity of installation underscores the importance of hiring our professionals. They have the necessary skills and experience to handle the entire process, ensuring a safe and efficient installation.

Safety Reasons to Call a Plumber

Avoiding Potential Hazards

Installing a water heater involves handling electric, gas, and water connections—all of which pose significant risks if not managed correctly. Safety is a primary reason to call our professionals to install a water heater. Here are a few hazards you can avoid:

  • Carbon Monoxide Leaks: Incorrect installation of gas-powered water heaters can lead to carbon monoxide leaks, which are extremely dangerous and can be fatal.
  • Electrical Dangers: Mixing water and electricity can be perilous. Incorrect electrical wiring during installation can lead to shocks or even fires.
  • Gas Leaks: Improper connection of gas lines can result in leaks, which pose both explosion and fire risks.

Ensuring Compliance with Safety Regulations

Safety regulations and building codes exist for a reason—they protect you and your home. Our professionals are well-versed in these regulations and ensure the installation meets all required standards.

  • Proper Ventilation: Gas water heaters need adequate ventilation to avoid gas and fume build-up. Our technicians ensure appropriate venting.
  • Secure Connections: We make certain that all gas, water, and electrical connections are secure and correctly installed to eliminate leaks and potential hazards.
  • Pressure Relief Valves: Proper installation of safety devices like pressure relief valves prevents over-pressurization, which could lead to unit rupture or explosions.

By calling our professionals, you eliminate the risks associated with improper installation and can be confident that your water heater is installed safely and correctly.

Benefits of Professional Installation

Efficiency and Performance

One of the significant benefits of professional installation is the improved efficiency and performance of your water heater. Proper installation ensures that the unit operates at its peak efficiency, providing reliable hot water and reducing energy consumption.

  • Optimal Placement: Our professionals assess the best location for your water heater, ensuring accessibility and efficient operation.
  • Correct Setup: Correct installation of controls and settings allows the water heater to function optimally, minimizing wear and tear.
  • Tailored Solutions: Our technicians customize the installation to fit your specific needs, ensuring your home’s unique requirements are met.

Extended Lifespan and Warranty Protection

Professional installation of your water heater also extends the lifespan of the unit and protects your warranty. Manufacturers’ warranties often require professional installation to remain valid.

  • Adherence to Manufacturer Guidelines: Our professionals follow the manufacturer’s guidelines to ensure the warranty remains intact.
  • Quality Assurance: Professional installation helps prevent errors that could lead to premature failure or the need for costly repairs.
  • Ongoing Support: We provide ongoing support and maintenance to keep your water heater running smoothly for years to come.

By opting for professional installation, you benefit from a reliable, efficient, and long-lasting water heater.

Conclusion

Understanding when to call a plumber to install a water heater is crucial for maintaining a safe and efficient home. Recognizing the signs of water heater failure, understanding the complexity of installation, and prioritizing safety are all essential steps in this process. Professional installation ensures the unit operates efficiently and meets all safety standards, providing peace of mind and long-term reliability.

For expert water heater installation in Tigard, OR rely on our team at D&F Plumbing, Heating and Cooling. Our professionals have the skills and experience to handle the job with precision and care. Contact us today to ensure your water heater is installed correctly and safely.