Installing a Heat Pump in your home is a wise investment that can provide efficient heating and cooling throughout the year. However, many homeowners may feel unsure about the process and what it involves. Knowing what to expect and how to prepare can make the installation smoother and more efficient.
Understanding Heat Pump Installation
Types of Heat Pumps
When considering a heat pump installation, it’s important to understand the different types available. The three main types are air-source, ground-source (geothermal), and water-source heat pumps.
- Air-Source Heat Pumps: These are the most common. They transfer heat between your house and the outside air. They are efficient and suitable for a wide range of climates.
- Ground-Source Heat Pumps: Also known as geothermal heat pumps, these systems transfer heat between your home and the ground. They are highly efficient but usually involve a more complex and costly installation process.
- Water-Source Heat Pumps: These systems use water as the heat exchange medium. They are often used in properties near a body of water.
Knowing the type of heat pump that best fits your needs can save you time and ensure you get the most suitable system for your home.
Components Involved
Understanding the components involved in a heat pump system can help you better prepare and maintain your setup.
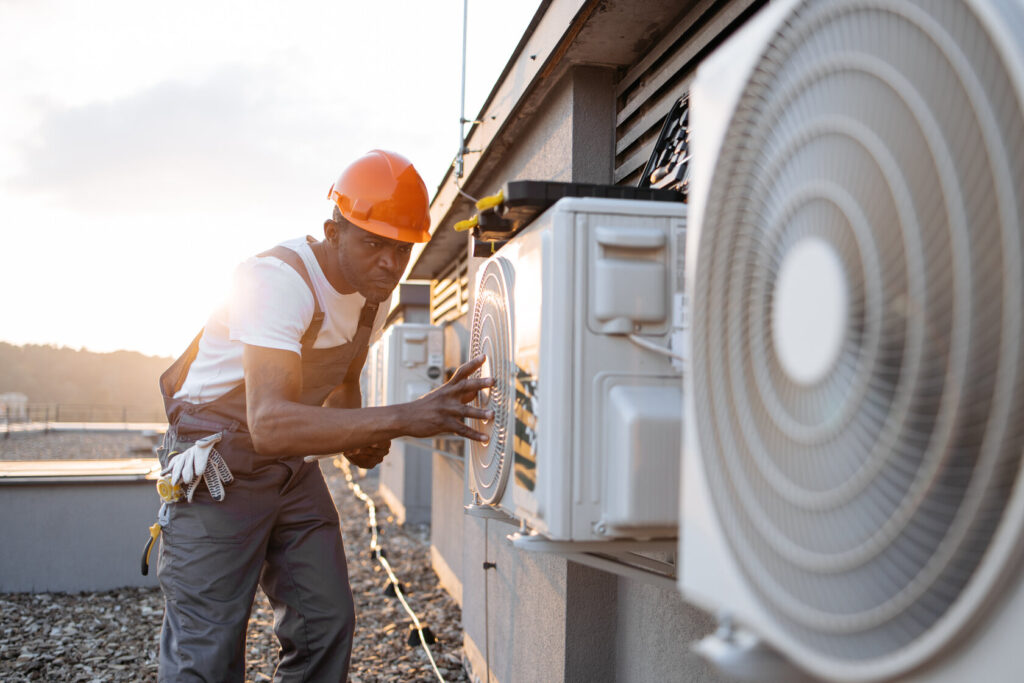
- Outdoor Unit: This unit contains the compressor and is placed outside the house.
- Indoor Unit: Also known as the air handler, this unit distributes air inside your home.
- Refrigerant Lines: These lines connect the indoor and outdoor units and carry the refrigerant.
- Thermostat: This device controls the temperature settings of the system.
- Ductwork (if applicable): Some systems may require ductwork to distribute air throughout the home.
Familiarizing yourself with these components will help you understand the installation process and what our professionals will be handling.
Preparing Your Home for Installation
Choosing the Right Location
Selecting the proper location for both the indoor and outdoor units is crucial for optimal performance.
- Outdoor Unit Placement: The outdoor unit should be placed on a flat, stable surface such as a concrete pad. Ensure it’s away from windows to reduce noise disturbances. Also, it should have enough clearance around it for airflow.
- Indoor Unit Placement: The indoor unit should be installed in an area that allows efficient air distribution. Common locations include basements, attics, or utility closets. Make sure the location is easily accessible for future maintenance.
Clearing the Area
Preparing the installation area helps expedite the process and ensures the safety of our technicians.
- Clear Outdoor Space: Remove any debris, plants, or objects from the area where the outdoor unit will be placed. Ensure there is easy access to the location.
- Clear Indoor Space: Move any furniture or obstructions that might hinder the installation of the indoor unit and ductwork. Ensure that pathways are clear so that our professionals can move equipment in and out quickly.
- Access to Power Supply: Ensure that there is a reliable power supply close to the installation area for both the indoor and outdoor units. Having a predetermined power source will make the installation smoother.
By preparing the area properly, you can facilitate a quicker and more efficient heat pump installation, minimizing disruption to your daily routine.
What to Expect During Installation Day
Arrival of Technicians
On the installation day, our professionals will arrive at your home at the scheduled time. The first step involves a quick assessment of the installation areas. They will check both the indoor and outdoor locations to ensure everything is ready. Any final adjustments or preparations will be made before the installation begins.
Step-by-Step Installation Process
- Setting Up the Outdoor Unit: The technicians will position the outdoor unit on the pre-cleared area. They will secure it on a stable base to ensure it remains level and performs optimally.
- Installing the Indoor Unit: The indoor unit will be placed in the predetermined location. The technicians will make sure it is in a spot that allows good air distribution and easy access for future maintenance.
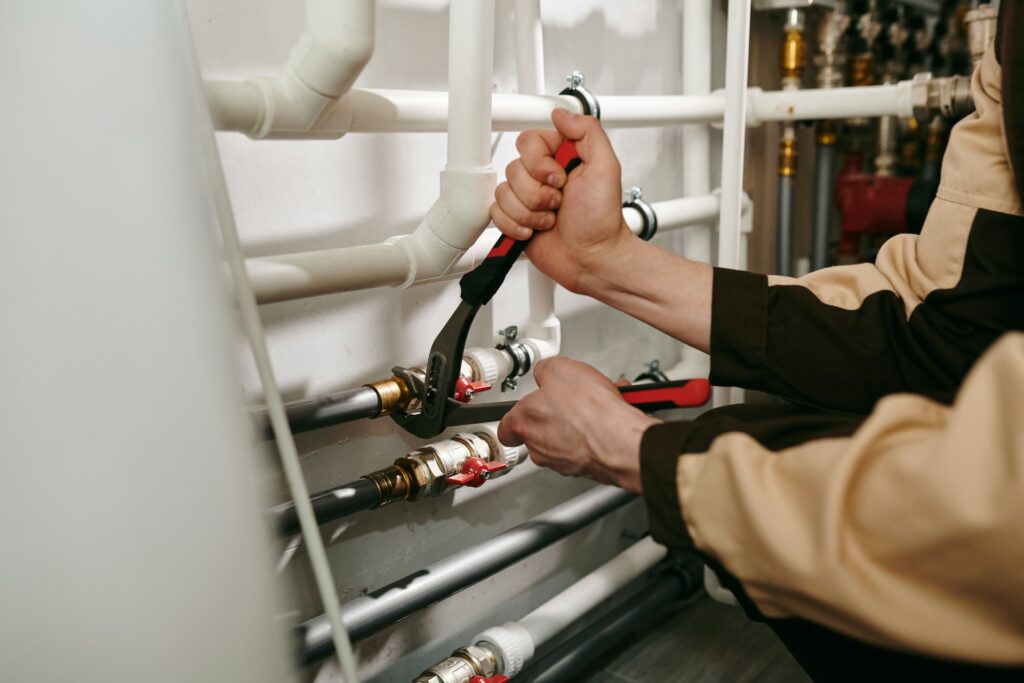
- Connecting Refrigerant Lines: The next step involves running the refrigerant lines between the indoor and outdoor units. Our professionals ensure the lines are properly insulated and securely connected.
- Electrical Connections: Proper electrical connections are crucial for the functioning of the heat pump. Our technicians will connect the system to your home’s power supply, making sure all connections adhere to safety standards.
- Testing the System: Once everything is in place, the system will be thoroughly tested. The technicians will check for leaks, ensure the refrigerant levels are correct, and verify that the system is operating efficiently.
This step-by-step process ensures that your heat pump installation is done correctly, providing reliable heating and cooling for your home.
Post-Installation Tips and Maintenance
Checking the System
After the installation is complete, our technicians will give you a brief overview of the system’s features and how to operate it. They will demonstrate the thermostat controls and explain how to switch between heating and cooling modes. This is also a good time to ask any questions you may have about the system. Ensuring you know how to operate your new heat pump is essential for maintaining its efficiency.
Scheduling Regular Maintenance
To keep your heat pump running efficiently, regular maintenance is crucial. Here are a few maintenance tips:
- Regular Filter Changes: Replace or clean the filters every few months to ensure optimal airflow and prevent strain on the system.
- Annual Professional Checkups: Schedule annual maintenance with our professionals. They will inspect and tune up the system, checking for any potential issues before they become serious problems.
- Monitor the Outdoor Unit: Keep the area around the outdoor unit clear of debris, leaves, and other obstructions. Regularly check the unit to ensure it is clean and free from blockages.
These simple maintenance steps can help extend the life of your heat pump and ensure it operates efficiently year-round.
Conclusion
A heat pump installation is an excellent way to improve your home’s heating and cooling efficiency. By understanding the different types of heat pumps available, preparing your home properly, and knowing what to expect on installation day, you can make the process smoother and stress-free. Following post-installation tips and scheduling regular maintenance will ensure that your system continues to function optimally for years to come.
For a seamless and professional Heat Pump Installation in Oregon City, OR, trust D&F Plumbing, Heating and Cooling. Our experienced technicians are here to guide you every step of the way. Contact us today to schedule your installation and enjoy reliable heating and cooling in your home.
